Easter Egg Painting Ideas That Will Make Your Holiday Unforgettable
Easter arrives once a year. But the memories you create around it? Those last a lifetime. Easter egg painting ideas have evolved far beyond the basic drugstore dye kit. Today, families across the USA are turning egg decoration into a genuine art form — one that blends creativity, tradition, and serious style. Whether you’re a complete beginner or someone who wants to push their craft further, this guide covers everything you need to know.
Why Easter Egg Painting Is the One Holiday Tradition Worth Starting Right Now
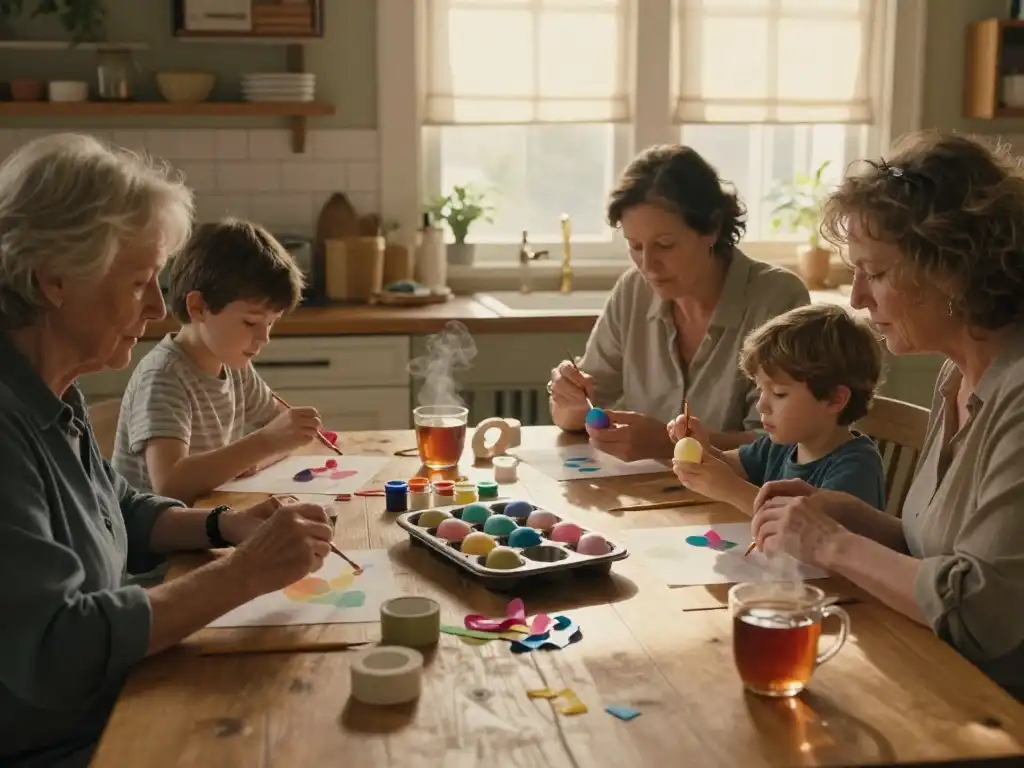
Traditional easter customs have a way of anchoring families to something real. Easter egg painting isn’t just a craft — it’s a ritual. It gathers people around a table, slows everything down and creates space for genuine conversation. Studies in family psychology consistently show that shared creative activities strengthen emotional bonds between children and adults. A family easter craft night built around egg painting delivers exactly that kind of connection.
The best part? You don’t need expensive supplies or artistic talent. Easter egg craft ideas work at every skill level. A toddler pressing a foam brush into pastel colors is creating something just as meaningful as an adult painting intricate florals with a fine-tip brush. The act itself is the point. Spring celebration crafts like this one produce memories that outlast the holiday by years — sometimes decades.
The Best Paints for Easter Eggs That Actually Stick and Stay Vibrant
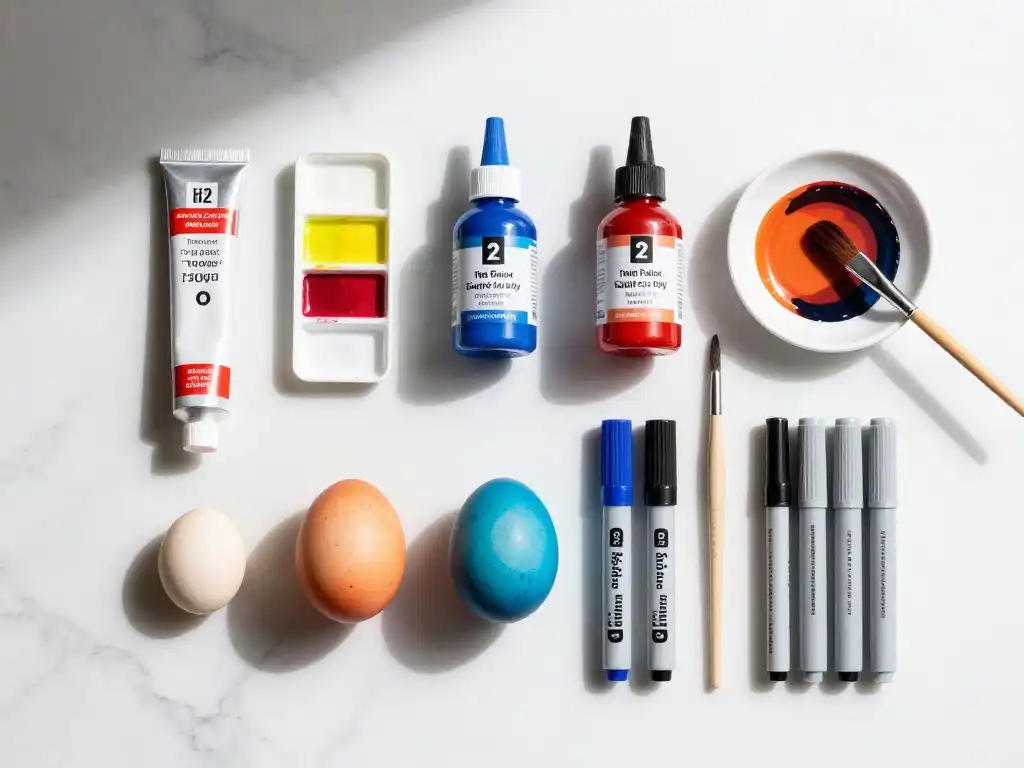
Knowing the best paint to use on easter eggs makes a dramatic difference in your results. Not all paints behave the same way on an eggshell surface. Acrylic paint is the most popular choice among experienced decorators because it dries fast, adheres strongly and comes in hundreds of colors. It works on both hard boiled eggs and blown eggs without cracking or peeling when applied in thin layers. A foam brush gives smooth, even coverage on curved surfaces.
Watercolor paint produces a softer, more translucent finish — ideal for that dreamy, ethereal look. Paint markers and sharpie markers offer precise line control for geometric or text-based designs. Food coloring mixed with vinegar remains the classic choice for a traditional dye effect. Below is a quick comparison to help you choose the right medium for your project.
| Paint Type | Best For | Finish | Dries Fast? | Kid-Safe? |
|---|---|---|---|---|
| Acrylic Paint | Detailed designs | Opaque, matte | Yes | Yes (non-toxic) |
| Watercolor Paint | Soft, dreamy looks | Translucent | Yes | Yes |
| Food Coloring | Classic dye effect | Translucent | No | Yes |
| Paint Markers | Fine line details | Semi-gloss | Yes | Supervision needed |
| Sharpie Markers | Text and outlines | Permanent | Yes | Supervision needed |
Watercolor Easter Egg Painting Techniques That Look Expensive but Are Not
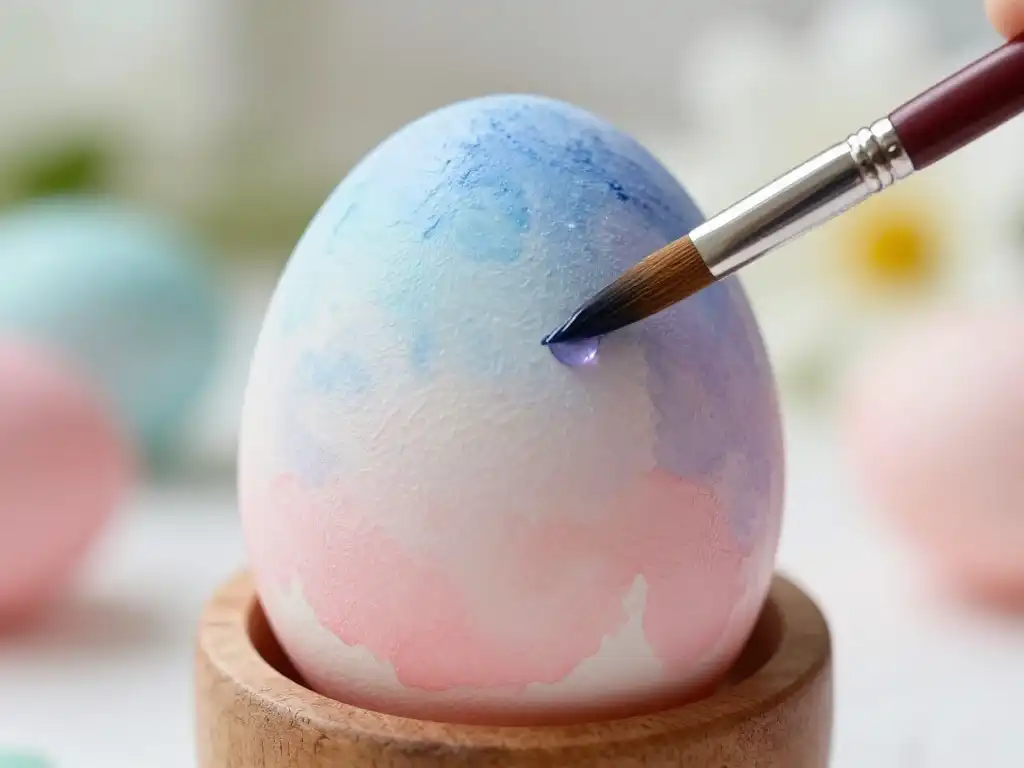
Watercolor egg painting tutorial methods are easier than most people expect. The trick is working on a dry egg surface and applying color in diluted, overlapping washes. Start with the lightest tone first. Let it dry for sixty seconds then layer a slightly deeper hue on top. The blending that happens naturally at the edges creates that gorgeous, gradient look that makes pastel paint easter eggs look professionally done. No special skills required — just patience.
How to do watercolor effect on easter eggs without actual watercolor paint is also possible. Dilute regular food coloring with water to about thirty percent strength then apply with a soft foam brush in sweeping motions. For a marble effect, drop two colors onto a wet surface and tilt the egg slowly. The colors chase each other across the shell in ways you can’t fully control — and that unpredictability is exactly what makes each egg unique. Watercolor easter egg painting genuinely rewards experimentation.
Acrylic Paint Easter Egg Ideas That Turn Plain Eggs Into Mini Masterpieces
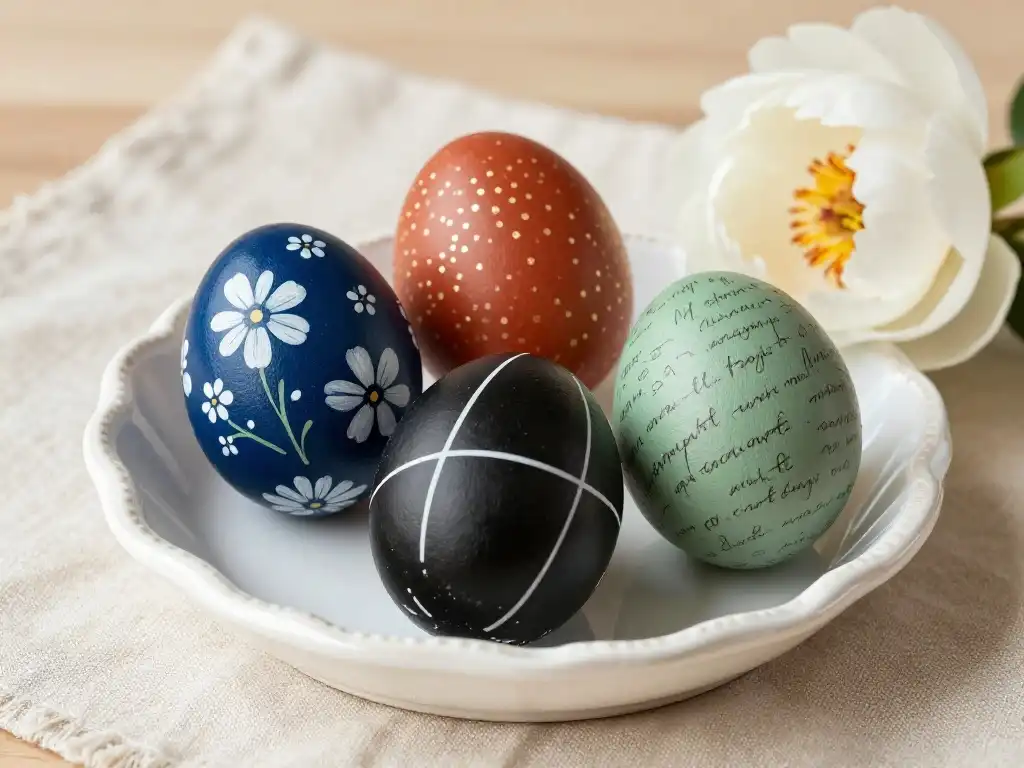
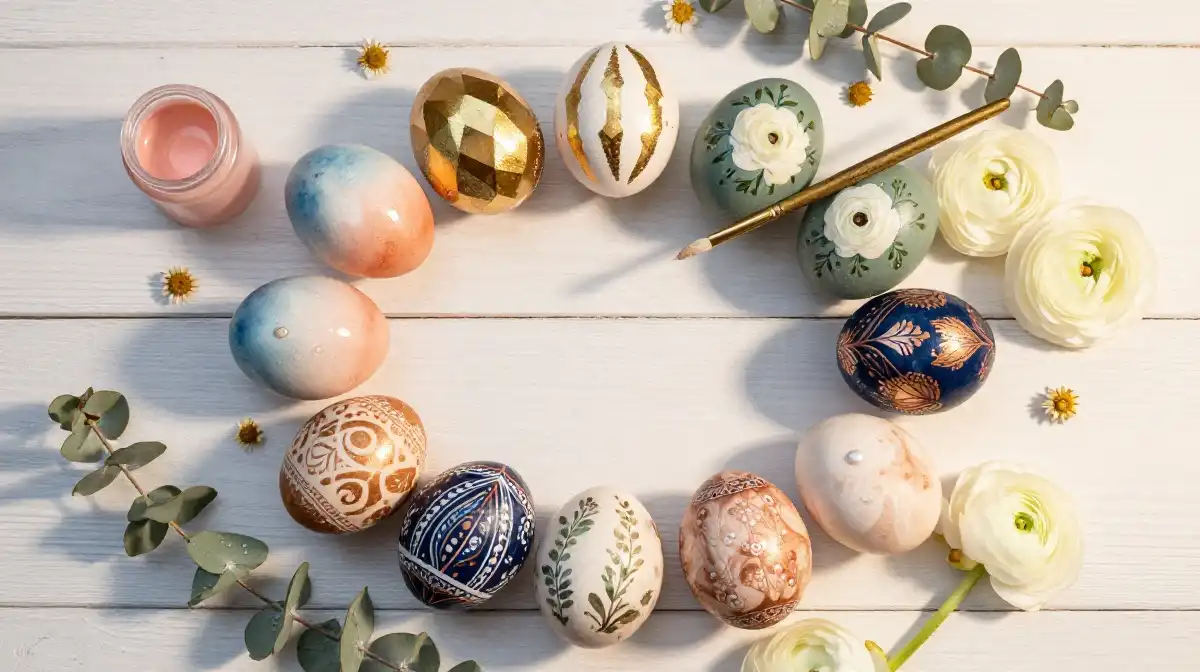
Acrylic paint on easter eggs opens up a world of creative possibilities that no dye kit can match. The opacity of acrylic means you can paint a deep cobalt base coat then layer bright white florals on top — something completely impossible with translucent dyes. Acrylic painted easter eggs hold fine detail beautifully. Use a thin liner brush loaded with slightly thinned acrylic to paint tiny leaves, dots, or line patterns that look intricate but take only minutes.
you may also like this:Easter Baby Showers That Blend Spring Magic With Baby Bliss
How to paint intricate designs on eggs using acrylics starts with a solid base coat in a single color. Let it cure fully — at least twenty minutes. Then sketch your design lightly with a pencil before committing with paint. A toothpick dipped in contrasting acrylic creates perfect tiny dots and fine swirling lines. This is the same technique used in traditional Ukrainian Pysanky egg art. Hand painted egg designs done in acrylics last for years when properly sealed.
Simple Easter Egg Painting Ideas Kids Will Beg to Do Every Single Year
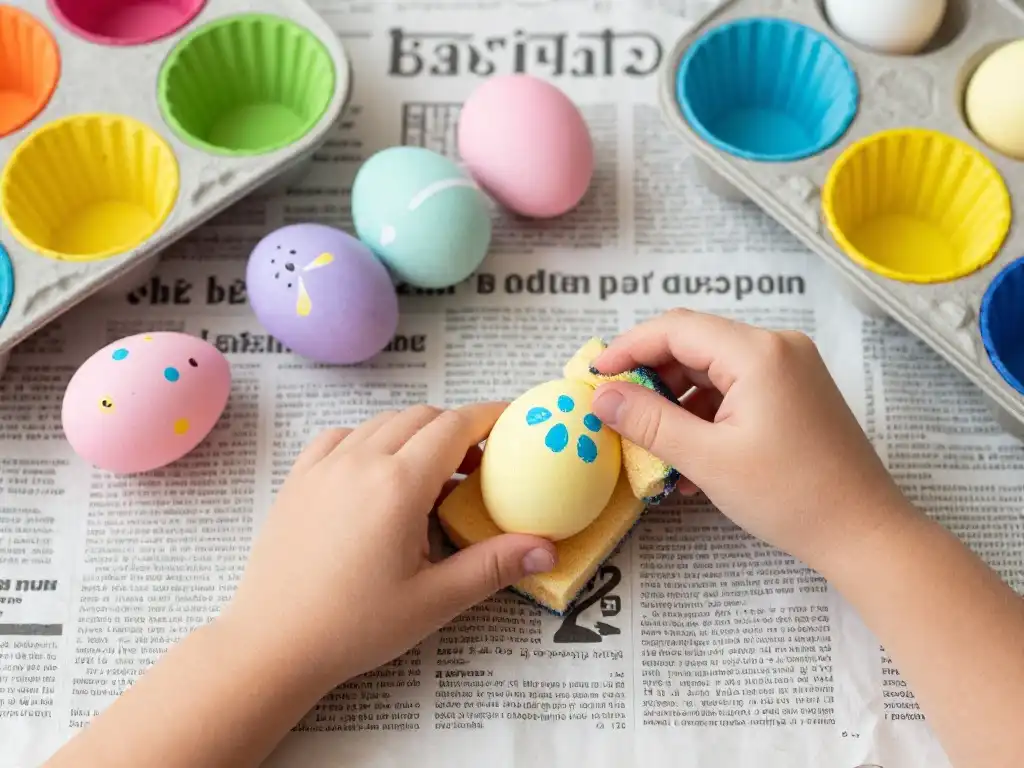
Easy easter egg painting ideas for kids don’t need to be complicated to be memorable. Children connect most deeply with activities where they feel genuine creative ownership. Give them a foam brush, three or four pastel colors and a hard boiled egg then simply step back. Fun and easy easter egg designs for toddlers often involve finger painting, sponge stamping, or rolling eggs across paint-splattered paper for a Jackson Pollock-style result. The chaos is part of the fun.
Easter egg art for kids works best when you set up a protected workspace. Cover the table with newspaper or a plastic tablecloth. Pour paints into a muffin tin so colors stay separate. How to paint easter eggs without making a mess comes down almost entirely to preparation. Use smocks or old shirts. Keep wet wipes nearby. Fun easter egg painting activities run smoother when kids have their own designated egg and their own brush. Sharing supplies leads to color contamination and frustration.
Floral Painted Easter Egg Designs That Feel Like Spring Captured on a Shell
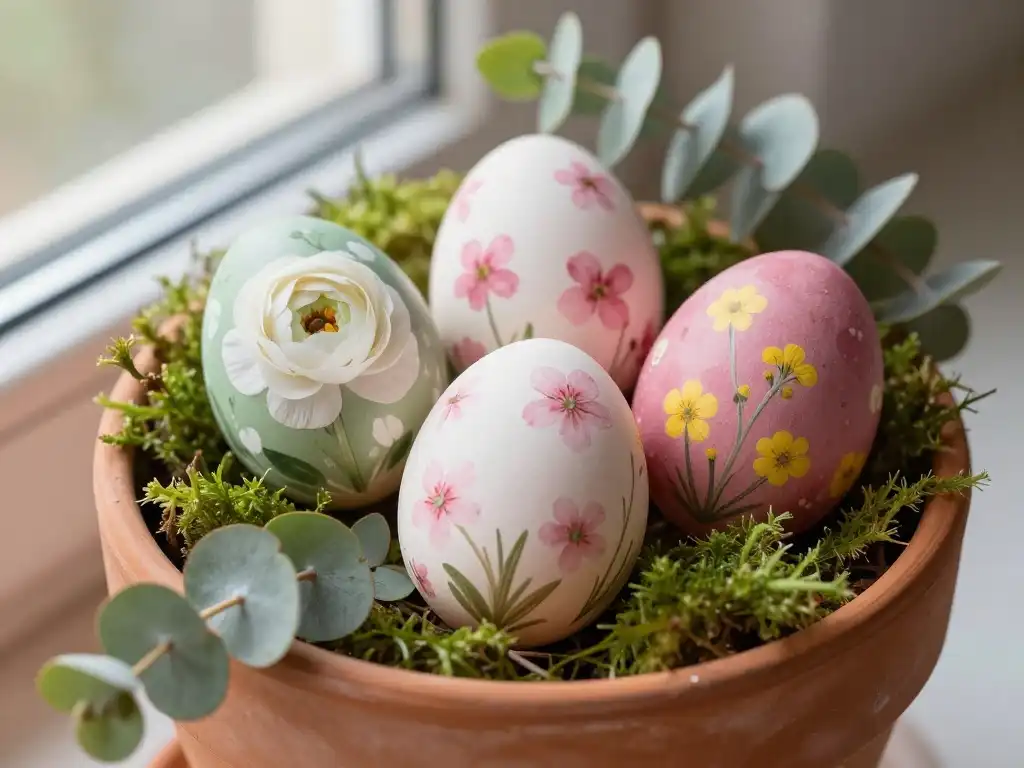
Floral painted easter egg ideas are among the most searched Easter decoration styles in the USA every spring. And it makes complete sense. Flowers and eggs both symbolize renewal so combining them feels instinctively right. Start with a pale sage or blush base coat in acrylic paint. Once dry, use a small round brush to dab loose petal shapes in white, cream or deep rose. Add tiny yellow centers with a toothpick. The result looks botanical and intentional.
Spring themed art ideas built around floral egg designs work across skill levels. Beginners can create impressionistic blooms with a few simple brush strokes. More advanced painters can attempt realistic ranunculus or cherry blossom clusters using layered petal shapes. Intricate egg painting methods for florals include wet-on-wet blending for soft petal edges and dry-brush technique for texture. Hand painted easter eggs with floral motifs make exceptional gifts and display pieces. Tuck them into a small easter basket with moss for a stunning centerpiece.
Geometric Easter Egg Patterns That Are Surprisingly Easy to Pull Off at Home
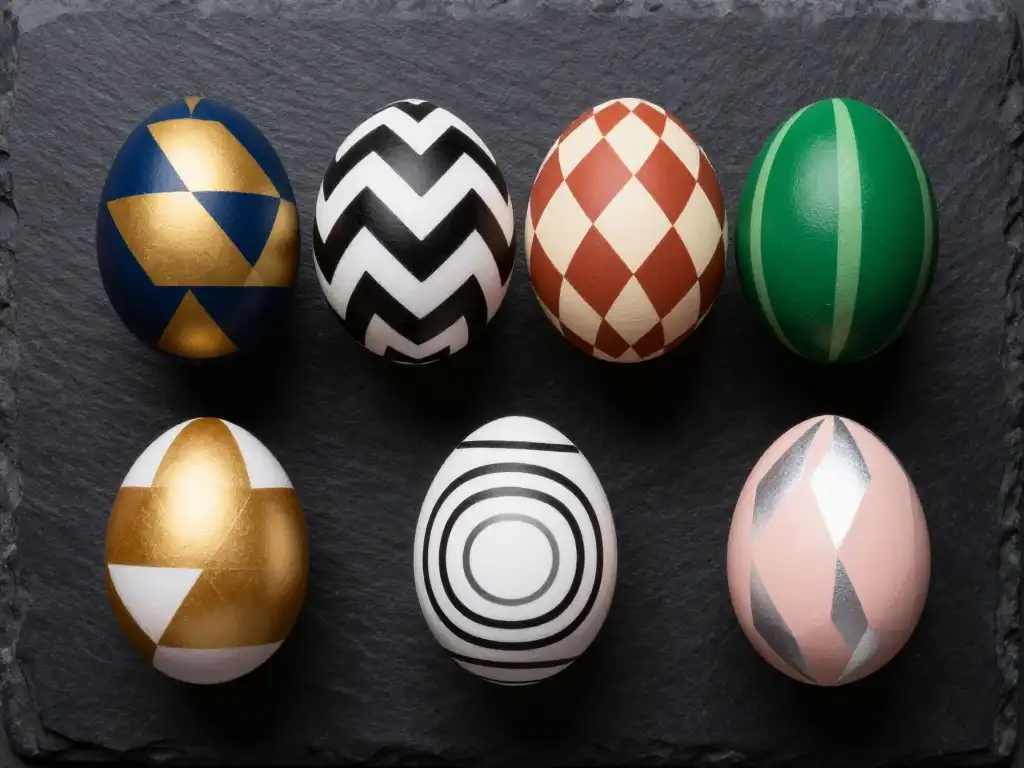
Geometric easter egg patterns look complex but they’re actually the most beginner-friendly design category. The secret is washi tape. Apply strips of tape to the egg in triangles, stripes or chevron formations. Paint over the entire egg in one bold color. Let it dry completely then peel the tape back slowly. The clean lines underneath look razor-sharp and professionally done. Easter egg painting with markers also works beautifully for geometric work — sharpie markers stay on the curved surface without bleeding.
Easy egg painting patterns with a geometric feel include: alternating triangles in two contrasting colors, concentric diamond shapes, half-and-half color splits, or simple dot-grid patterns. Diy painted easter eggs with graphic geometric designs photograph exceptionally well for social media. Use a color-blocked approach — pair navy with gold, black with white or terracotta with cream — for a modern aesthetic that feels fresh rather than traditionally Easter-themed. Creative easter egg coloring in geometric styles suits adults as much as children.
How to Use Washi Tape and Stencils to Get Perfect Easter Egg Designs Every Time
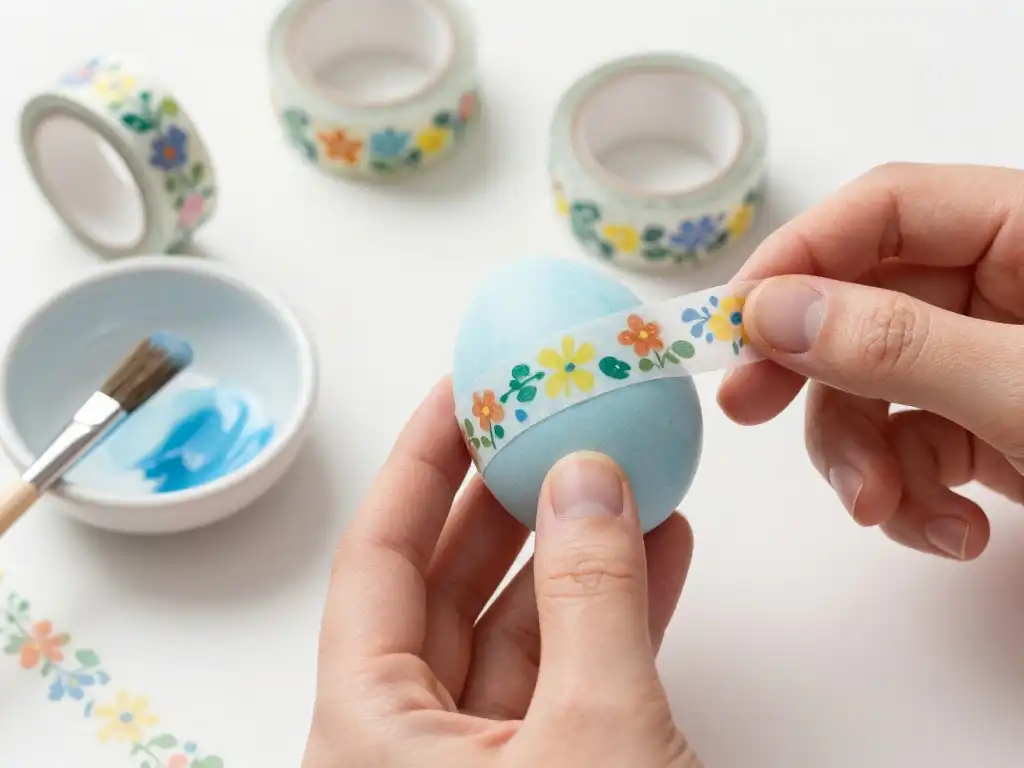
Washi tape is one of the most underutilized tools in easter egg decorating techniques. It comes in hundreds of patterns — florals, dots, stripes, plaid — and applying a short strip directly to an egg instantly creates decorative detail without any painting skill required. Layer two or three different tapes on a single egg for a patchwork effect that looks intentional and curated. The curved surface of an egg makes straight tape lines slightly imperfect and that organic quality actually adds charm.
Stencils take diy easter egg painting to a new level of precision. Small adhesive stencils — available at craft stores or cut from contact paper — adhere to the egg surface and let you sponge or brush paint over them cleanly. Egg surface painting techniques using stencils work best with thicker acrylic paint applied with a dense foam brush using a dabbing motion rather than a sweeping stroke. This prevents paint from bleeding under the stencil edge. Easter egg decoration tips from experienced crafters always mention dabbing over brushing as the key to clean stencil results.
Blown Egg Painting Techniques for Decorations That Last More Than One Season
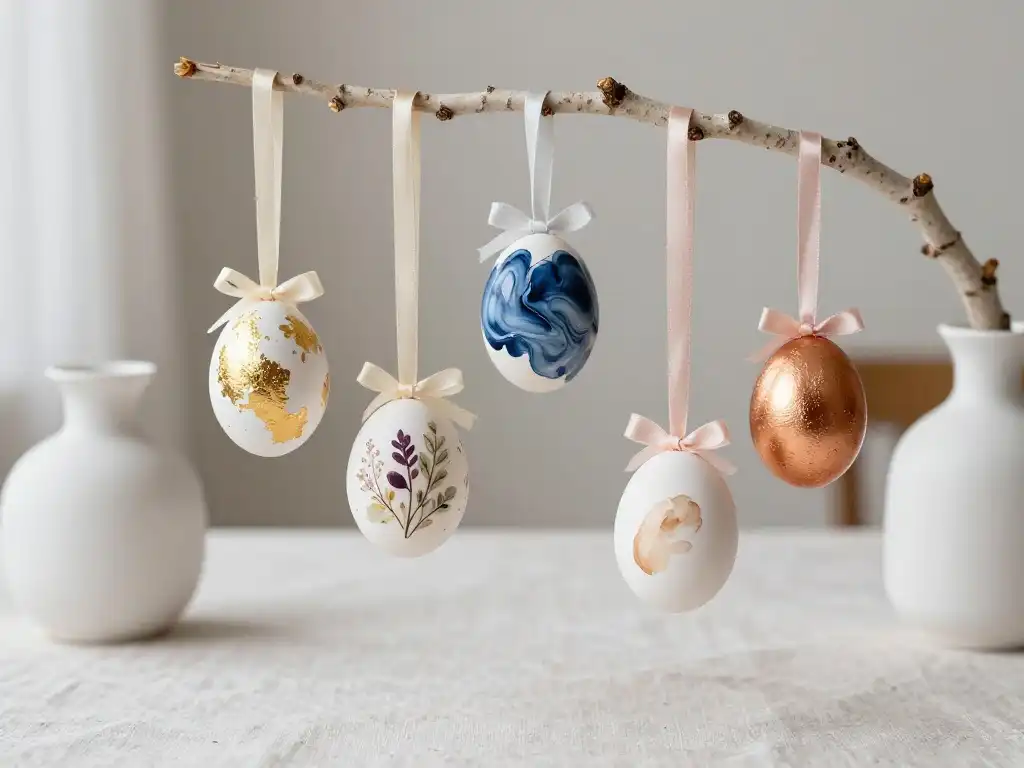
Blown eggs are the gold standard for easter egg painting ideas that you want to keep year after year. The process involves making two small holes in each end of a raw egg and gently blowing out the contents. What remains is a hollow shell — lightweight, durable and ready to paint. Decorative blown eggs last indefinitely when stored carefully and can be displayed season after season without any deterioration.
Blow out egg painting technique requires a bit more delicacy than working with hard boiled eggs. The shell is thinner and more fragile once emptied. Hold the egg gently in your palm rather than gripping it. Use acrylic paint in thin layers to avoid adding too much weight. How to make painted easter eggs last longer using this method is straightforward — seal finished blown eggs with a thin coat of mod podge and store them in a divided egg carton between seasons. Seasonal egg decorating with blown eggs is a genuine investment in future holidays.
Easter Egg Painting Ideas for Adults Who Want Something Truly Unique
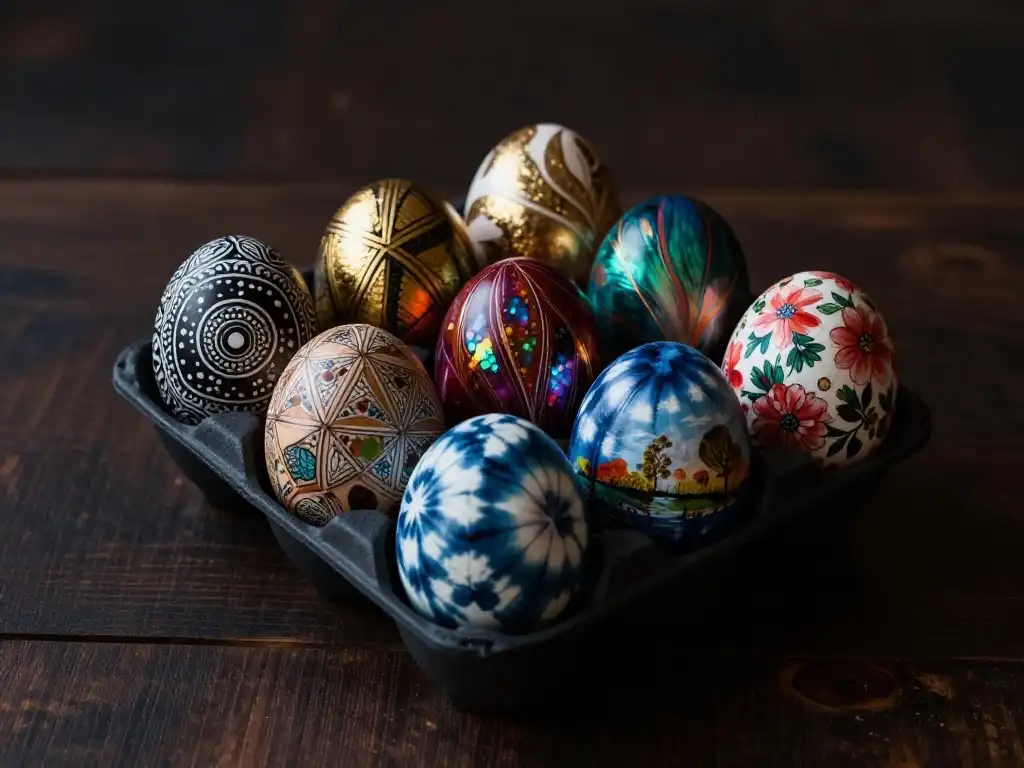
Easter egg painting ideas for adults have expanded dramatically in recent years. Grown-up decorators are reaching beyond pastel dyes and exploring techniques like marbling with nail polish, resist painting with rubber cement, gold leaf application and even decoupage using tissue paper fragments and mod podge. These methods produce unique easter egg designs that look like objects from a high-end boutique rather than a craft table.
Creative ways to decorate easter eggs at an adult skill level include wax resist batik — a technique borrowed from traditional Eastern European Pysanky traditions — where melted wax is applied in patterns then the egg is dyed, leaving wax-covered areas undyed. The result is stunning. Easter egg painting inspiration for adults also comes from unexpected sources: Delft pottery patterns, Japanese shibori textiles, Scandinavian folk art and Art Deco geometric forms all translate beautifully onto an egg surface. Festive egg art projects for adults deserve the same creative seriousness as any other art form.
Natural Dye Easter Egg Coloring That Produces Colors You Cannot Buy in a Kit
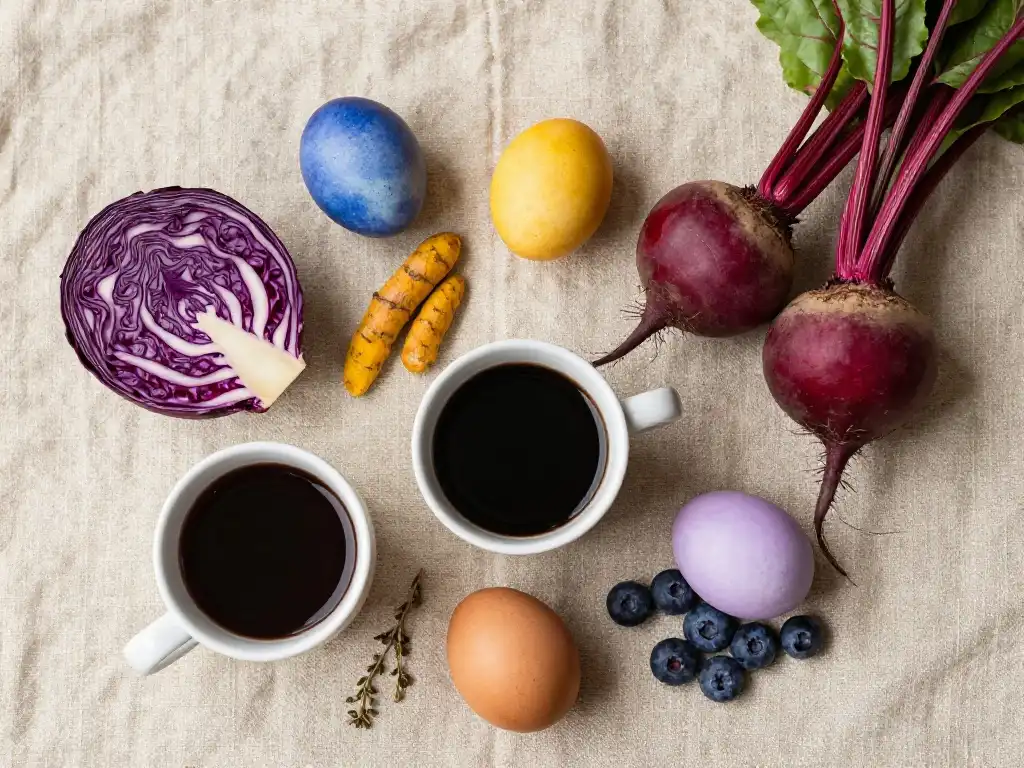
Natural dye egg coloring is experiencing a serious revival across the USA. Home cooks and craft enthusiasts are discovering that kitchen ingredients produce richer, more complex colors than any commercial egg dye kit. Red cabbage produces a deep periwinkle blue. Turmeric yields a vivid golden yellow. Beet juice creates a gorgeous dusty rose. Coffee and black tea produce warm sepia and tan tones. How to paint easter eggs at home using natural dyes simply requires simmering your chosen ingredient in water for thirty minutes then straining and cooling the liquid before submerging your eggs.
Traditional easter customs in many cultures predate commercial dyes by centuries — natural pigments were the only option available. This method connects modern families to something genuinely ancient. Boiled egg art decoration using natural dyes benefits from adding a tablespoon of white vinegar to the dye bath which helps the color adhere more strongly to the shell. Longer soaking times produce deeper saturation. Leave eggs in the dye bath overnight in the refrigerator for the most intense results. Spring holiday crafts don’t get more authentic than this.
| Natural Dye Ingredient | Color Produced | Soak Time for Best Result |
|---|---|---|
| Red cabbage | Periwinkle blue | 8+ hours |
| Turmeric | Golden yellow | 2–4 hours |
| Beet juice | Dusty rose / deep pink | 4–8 hours |
| Coffee (strong brew) | Warm sepia / tan | 4–6 hours |
| Spinach | Soft olive green | 4–6 hours |
| Onion skins (yellow) | Deep orange-brown | 2–4 hours |
| Blueberries | Soft lavender | 6–8 hours |
How to Seal and Protect Painted Easter Eggs So They Look Good for Weeks
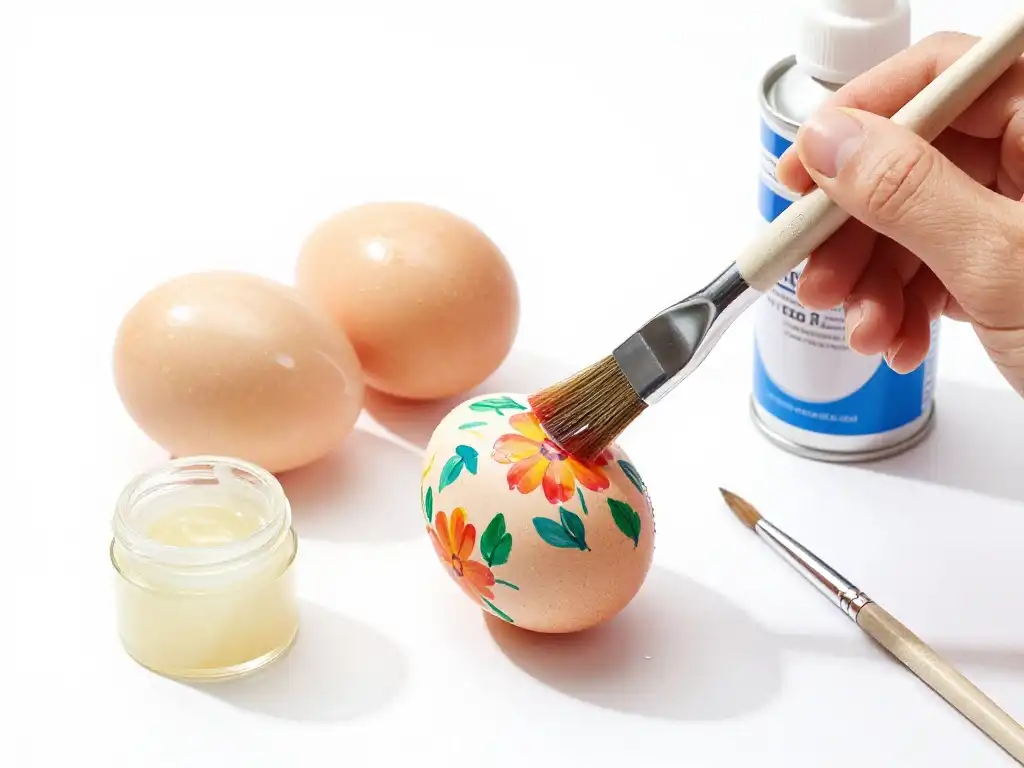
How to seal paint on easter eggs is one of the most important steps most beginners skip entirely. Unsealed paint chips, scratches and dulls within days. Mod podge applied with a soft foam brush in two thin coats — with full drying time between applications — creates a protective layer that keeps colors vivid and prevents surface damage. It dries to a clear finish and is available in both matte and glossy options depending on the look you prefer.
Easter egg painting sealer tips from professional crafters include waiting at least one hour after the final paint layer before applying any sealer. Rushing this step causes the sealer to pull up wet paint. For blown eggs intended as long-term display pieces, a spray-on clear acrylic varnish provides even more durable protection than brush-on mod podge. How to make painted easter eggs last longer also involves proper storage — individual compartments in a cardboard egg carton, wrapped loosely in tissue paper, kept away from direct sunlight which fades colors over time.
Creative Easter Egg Painting Themes the Whole Family Will Actually Enjoy Together
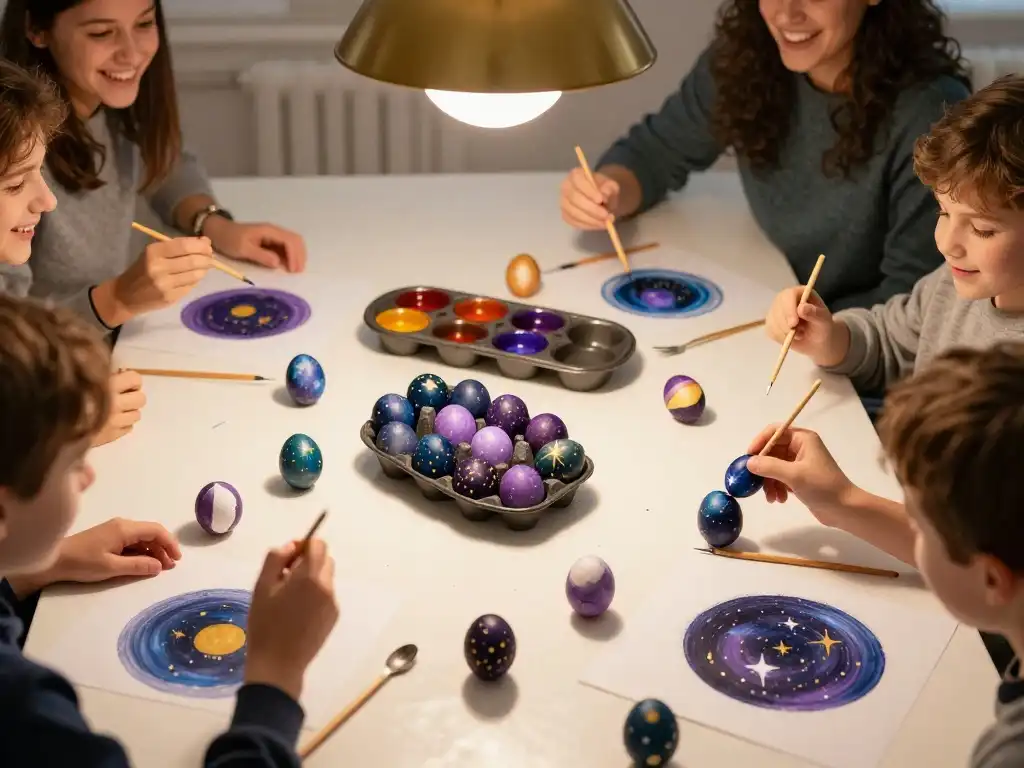
Best easter egg decorating ideas for families work when everyone gets a role that matches their skill level. Assign toddlers the base-coating job — rolling eggs in paint or sponging on color. Older children handle mid-level detail work with paint markers. Adults tackle the fine finishing details. A themed approach helps everyone work toward a unified vision. Galaxy eggs, under-the-sea creatures, miniature landscapes and storybook characters all make excellent easter egg painting themes.
Family easter craft night energy stays high when you build in friendly competition. Set a timer for thirty minutes and let each family member decorate two eggs. Display all finished eggs together and vote on categories — most colorful, most detailed, most creative. Easter craft activities for kids that involve gentle competition keep engagement levels strong without pressure. Creative easter egg art produced in this kind of collaborative, playful environment often surprises everyone — including the creators themselves.
Easter Egg Painting Mistakes Most People Make and Exactly How to Avoid Them
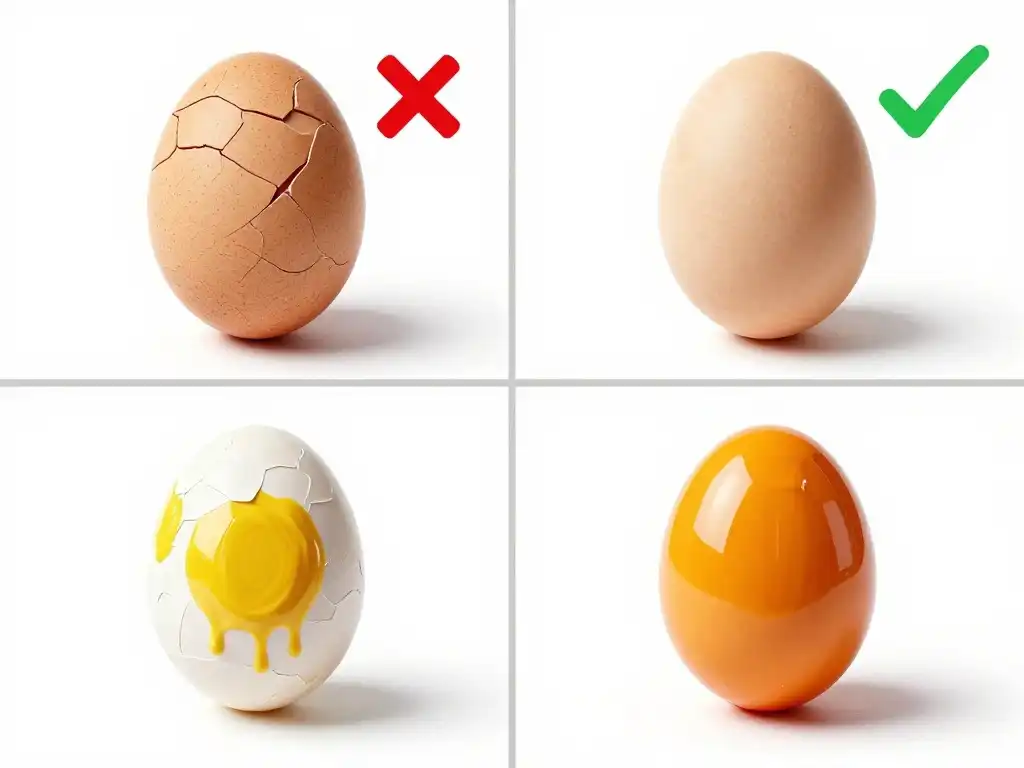
The most common easter egg decoration tips mistake is skipping surface preparation. Eggs fresh from the refrigerator have a faint moisture layer that prevents paint from bonding correctly. Always bring eggs to room temperature before painting and wipe the surface with a small amount of white vinegar on a cotton ball. This removes oils and creates a slightly roughened surface that accepts both acrylic paint and dye far more effectively.
Another widespread error is applying paint too thickly in a single coat. Thick paint cracks as it dries on the curved shell surface. Egg painting step by step discipline requires thin layers with full drying time between each application. Using glitter glue directly on an unpainted egg is another trap — it slides and pools. Apply a base coat first then add glitter glue as a finishing detail. Easter egg painting for beginners improves dramatically once these three preparation habits become automatic.
Budget Easter Egg Painting Ideas That Look High-End Without the High Price Tag
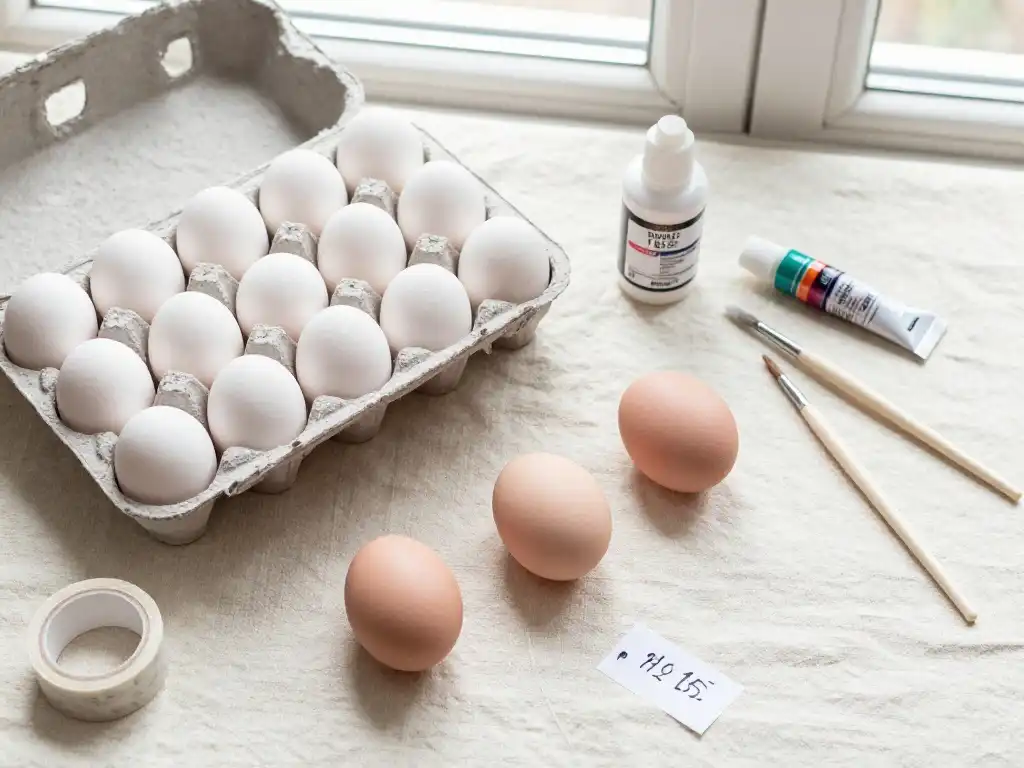
Budget-friendly spring powder room refresh thinking applies directly to egg decorating too — maximum visual impact from minimum spend. A dozen eggs, a set of basic acrylic paint in six colors, two brushes and a roll of washi tape costs under fifteen dollars total at any craft store. That modest investment produces diy painted easter eggs that genuinely rival expensive store-bought decorative eggs. The craft itself is inherently low-cost. The skill and creativity are what create the perceived value.
Simple egg painting for beginners on a tight budget benefits enormously from the monochromatic approach. Paint all eggs in variations of a single color — from pale blush to deep rose — using only white and one base color mixed in varying ratios. The cohesive set looks intentional and sophisticated without requiring multiple paint purchases. Painted egg decoration ideas that use a limited palette consistently photograph better and display more elegantly than a rainbow of unrelated colors. Restraint, in budget crafting, is always the most stylish choice.
How to Display Your Painted Easter Eggs in Ways That Stop Guests in Their Tracks
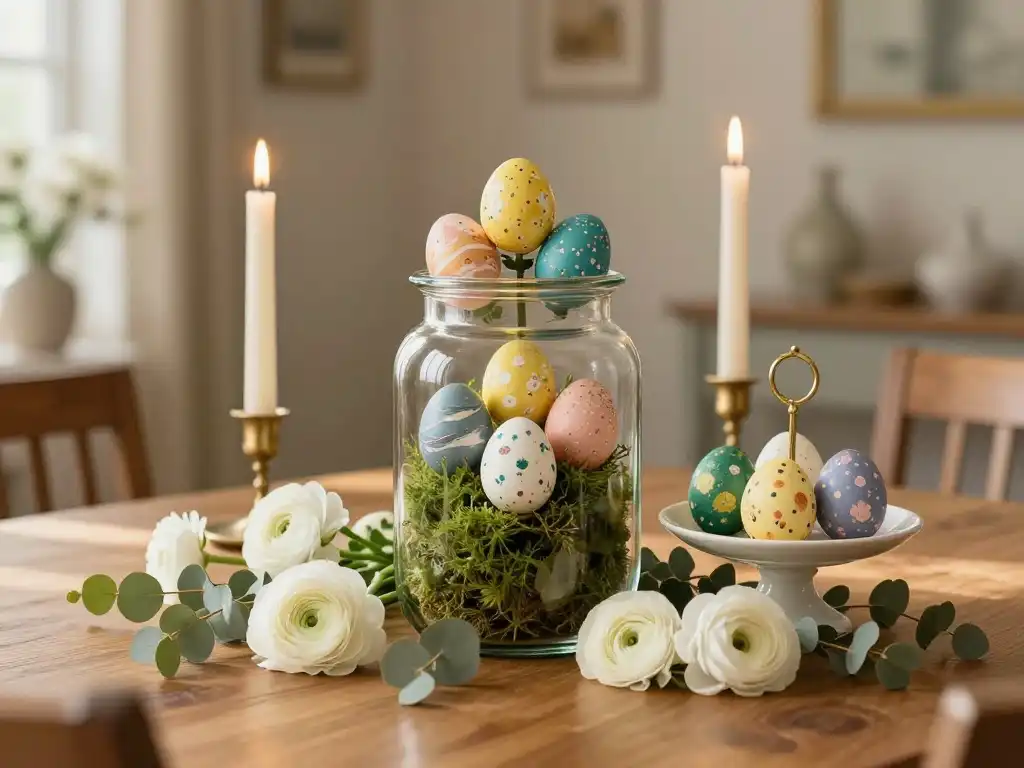
Easter basket display ideas represent only a fraction of the creative options available for showcasing hand painted easter eggs. Fill a large glass apothecary jar or a wide-mouth vase with decorative moss then nestle eggs on top for a centerpiece that looks professionally styled. A tiered cake stand works brilliantly — place the largest or most detailed eggs on the bottom tier and smaller accent pieces above. Holiday home decor eggs deserve display solutions that match their visual quality.
How to make easter eggs look beautiful in a display context comes down to grouping, height variation and complementary props. Tuck eucalyptus branches or fresh spring flowers between eggs in a bowl. Hang blown eggs from a small branch suspended horizontally between two vases using thin ribbon. Easter egg painting designs that follow a consistent color palette display most cohesively — mix too many unrelated colors and the arrangement feels chaotic rather than curated. Seasonal home refresh ideas that incorporate your painted eggs as genuine decor objects — not just crafts — elevate the entire holiday aesthetic of your home.
Frequently Asked Questions
What is the best paint to use on easter eggs?
Acrylic paint is widely considered the best overall choice for easter egg painting ideas. It adheres strongly to eggshell surfaces, dries quickly, resists chipping and comes in an enormous range of colors. For children, use non-toxic acrylic formulas. For soft translucent effects, diluted watercolor paint or food coloring works beautifully. Paint markers excel for fine detail work and text.
Can you use acrylic paint on hard boiled easter eggs?
Yes — acrylic paint on easter eggs that are hard boiled works extremely well. The cooked surface accepts acrylic readily. However, hard boiled eggs intended for eating should only be decorated with food-safe materials. If you’re painting purely for display, any acrylic paint formula is appropriate. Apply in thin layers and allow full drying time between coats for the best adhesion and finish quality.
How do you keep paint from peeling off easter eggs?
Surface preparation is everything. Wipe eggs with white vinegar before painting to remove oils. Apply acrylic paint in thin layers rather than one thick coat. Allow complete drying between layers. Once the final paint layer is fully cured, apply two thin coats of mod podge or clear acrylic spray sealer. Easter egg painting sealer tips consistently point to this two-coat sealing method as the most reliable way to prevent peeling and chipping.
What are some easy easter egg painting ideas for beginners?
Simple easter egg painting ideas for beginners include: monochromatic color washes with a single diluted acrylic color, washi tape geometric stripes with a contrasting base color, dot patterns created with a toothpick or eraser tip, and sponge-dabbed texture using a torn piece of kitchen sponge. These techniques require zero artistic training and consistently produce results that look polished and intentional. Easy egg painting patterns work best when you commit to one technique per egg rather than combining multiple approaches.
How do you paint easter eggs without making a mess?
How to paint easter eggs without making a mess comes down almost entirely to workspace setup. Cover your surface with newspaper or a disposable plastic tablecloth. Pour paints into a muffin tin or small cups to prevent tipping. Use an egg holder — a small lump of florist foam or a repurposed egg carton — to hold eggs steady while painting and drying. Keep wet wipes and a cup of water for brush rinsing within reach. Easter egg art projects with children run significantly smoother when the setup is organized before the first brush touches the first egg.
Conclusion
Easter egg painting isn’t just a seasonal craft. It’s a tradition with genuine creative depth and a surprisingly high ceiling for artistic expression. From watercolor easter egg painting in soft pastels to bold geometric easter egg patterns made with washi tape, the range of possibilities is genuinely extraordinary. You don’t need expensive supplies or professional skill. You need curiosity, a bit of preparation and the willingness to experiment. Easter egg painting ideas reward effort at every level — from a toddler’s first fingerprint flower to an adult’s hand-painted Pysanky-inspired masterpiece. This spring, give your table something worth talking about. Paint an egg. Start a tradition. Make the holiday unforgettable.