Easy DIY Halloween Wreaths to Spookify Your Front Door This Season
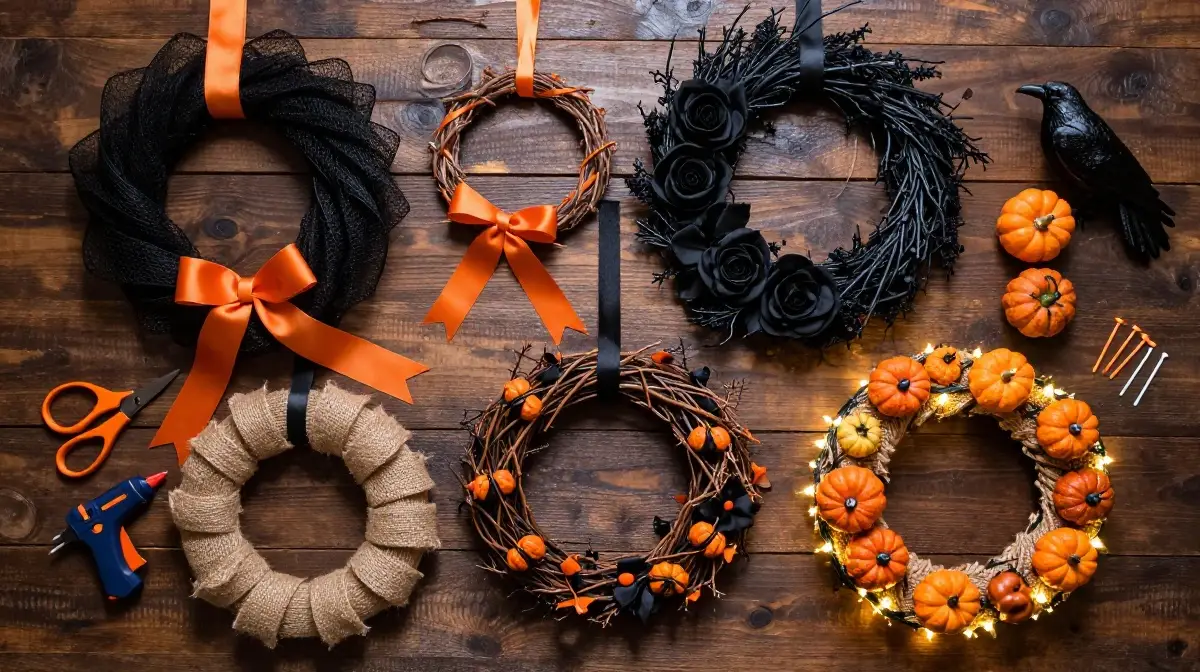
Halloween is almost here. And nothing says “welcome to the spook zone” faster than a stunning wreath hanging on your front door. Whether you’re a crafting pro or a total beginner, DIY halloween wreaths are one of the easiest and most rewarding projects you can tackle this fall. You don’t need a fancy craft room or a big budget. Just some creativity, a few supplies, and this guide — and you’re good to go.
What Materials Do You Need to Make a DIY Halloween Wreath
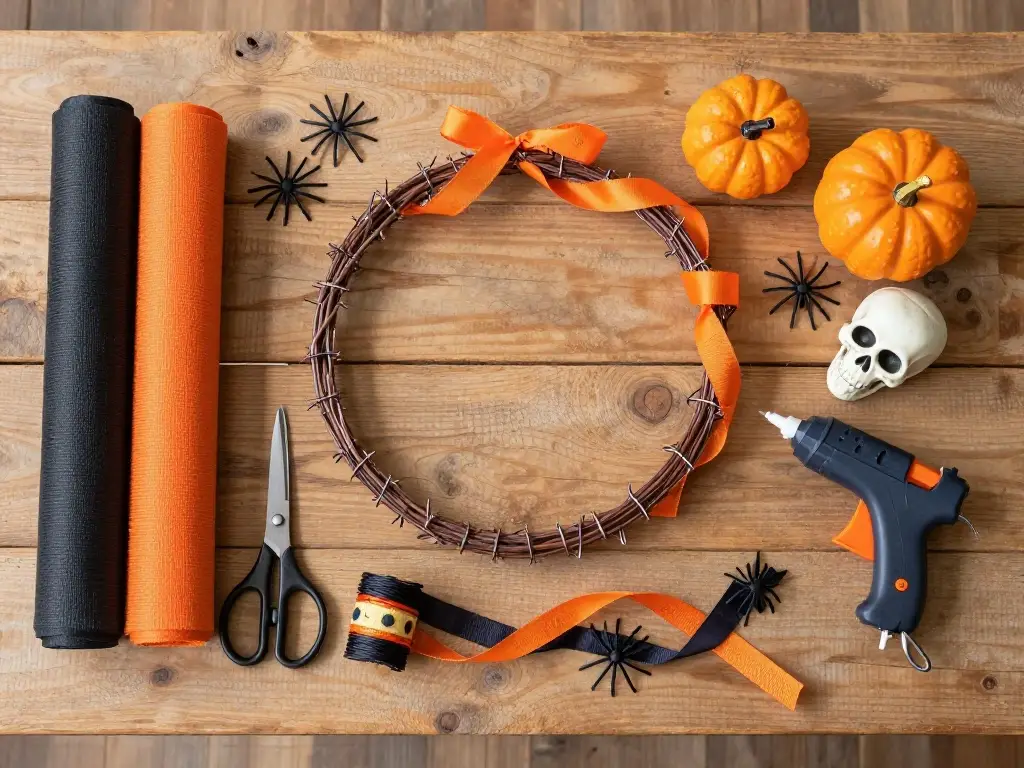
Starting with the right supplies makes everything easier. Most homemade halloween wreaths begin with a wire wreath frame or a foam wreath base, which you can grab from any craft store like Michaels or Hobby Lobby. You’ll also need floral wire, scissors, hot glue gun, and your choice of fillers — think deco mesh, ribbon, faux florals, or fabric strips.
Here’s a quick reference table for everything you’ll need:
| Material | Where to Buy | Approx. Cost |
|---|---|---|
| Wire wreath frame (18″) | Michaels, Amazon | $4–$8 |
| Deco mesh rolls | Hobby Lobby, Walmart | $5–$10 |
| Hot glue gun + sticks | Dollar Tree, Amazon | $3–$10 |
| Halloween picks/embellishments | Dollar Tree, Michaels | $1–$6 |
| Floral wire | Craft stores | $2–$4 |
| Ribbon (wired) | Hobby Lobby | $4–$8 |
| Faux florals or greenery | Dollar Tree, Joann | $1–$5 |
The best materials for halloween wreaths are ones that hold up outdoors. Waterproof mesh, UV-resistant ribbon, and plastic embellishments work best if your door gets direct sun or rain exposure.
What Materials Do You Need to Make a DIY Halloween Wreath?
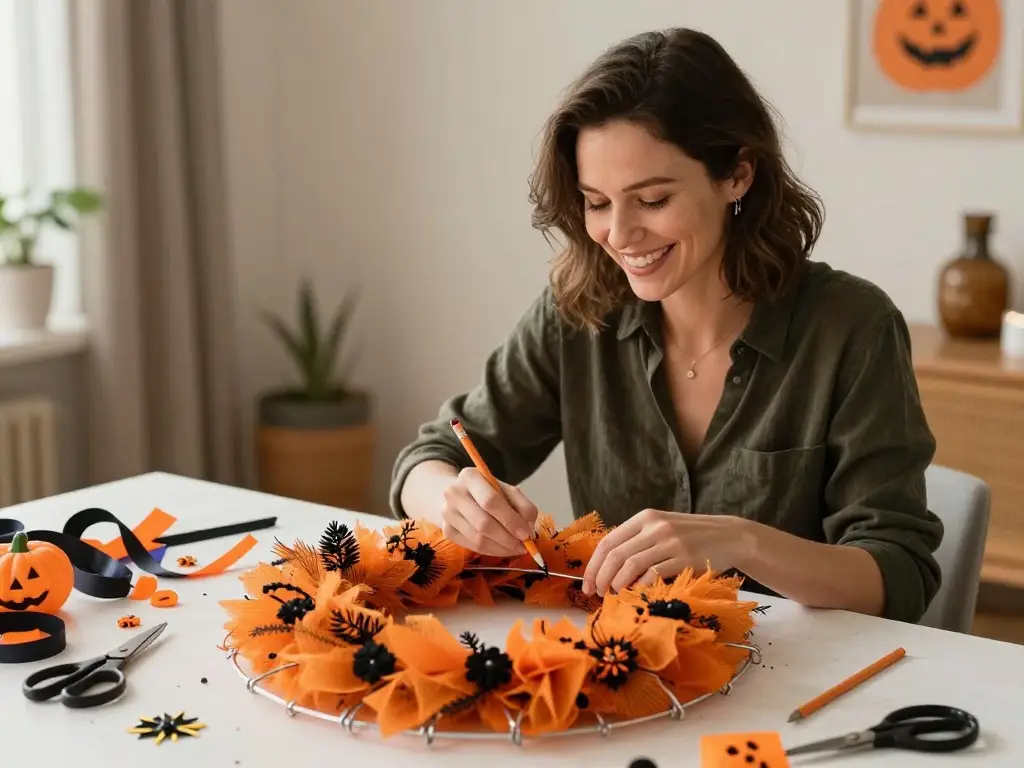
If you’ve never made a wreath before, don’t stress. Halloween wreath ideas for beginners are everywhere — and the learning curve is surprisingly gentle. The step by step halloween wreath tutorial method that works best for newbies is the “pull-through” technique using a wire frame and deco mesh.
Start by cutting your deco mesh into 10–12 inch sections. Push each piece through the wire squares of your frame using a pencil or dowel rod. Continue around the entire frame until it’s full and fluffy. Then hot-glue your Halloween picks — spiders, pumpkins, skulls — wherever you like. Finish with a big wired bow at the top. That’s genuinely it. Most beginners finish their first wreath in under two hours. The how long does it take to make a halloween wreath question depends on the design, but simple ones take 45 minutes to 2 hours.
Spooky DIY Halloween Wreath Ideas Using Dollar Tree Supplies
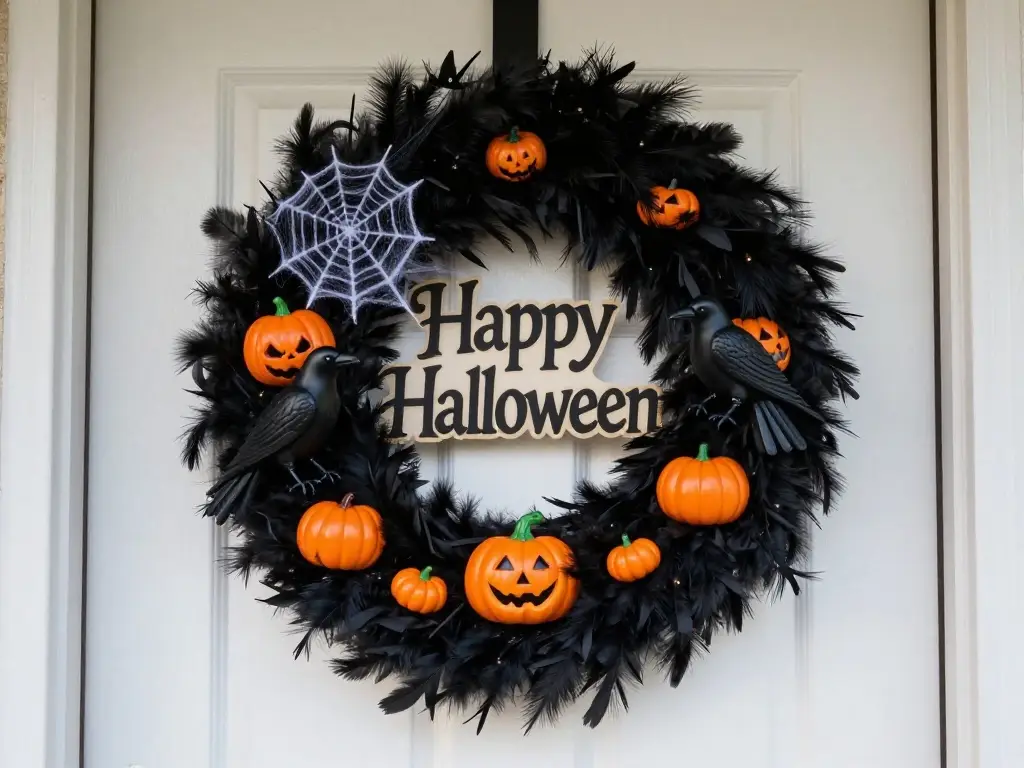
You don’t need to spend a fortune. Dollar Tree is basically a Halloween crafter’s paradise. A dollar tree halloween wreath can look just as stunning as a $60 store-bought one — if you shop smart. Pick up skeleton hands, plastic ravens, mini pumpkins, black feather boas, and spiderweb mesh all for $1.25 each.
Halloween wreath using dollar store items is one of the most-searched topics online every October — and for good reason. With a $15–$20 total budget, you can create something truly jaw-dropping. Grab a foam wreath base, wrap it in black fabric strips from Dollar Tree, then hot-glue your $1.25 picks around it in a clustered arrangement. Add a Dollar Tree “Happy Halloween” sign in the center and you’ve got a showstopper. The key is layering — don’t place items flat. Angle them outward for a 3D effect.
How to Make a Halloween Mesh Wreath at Home
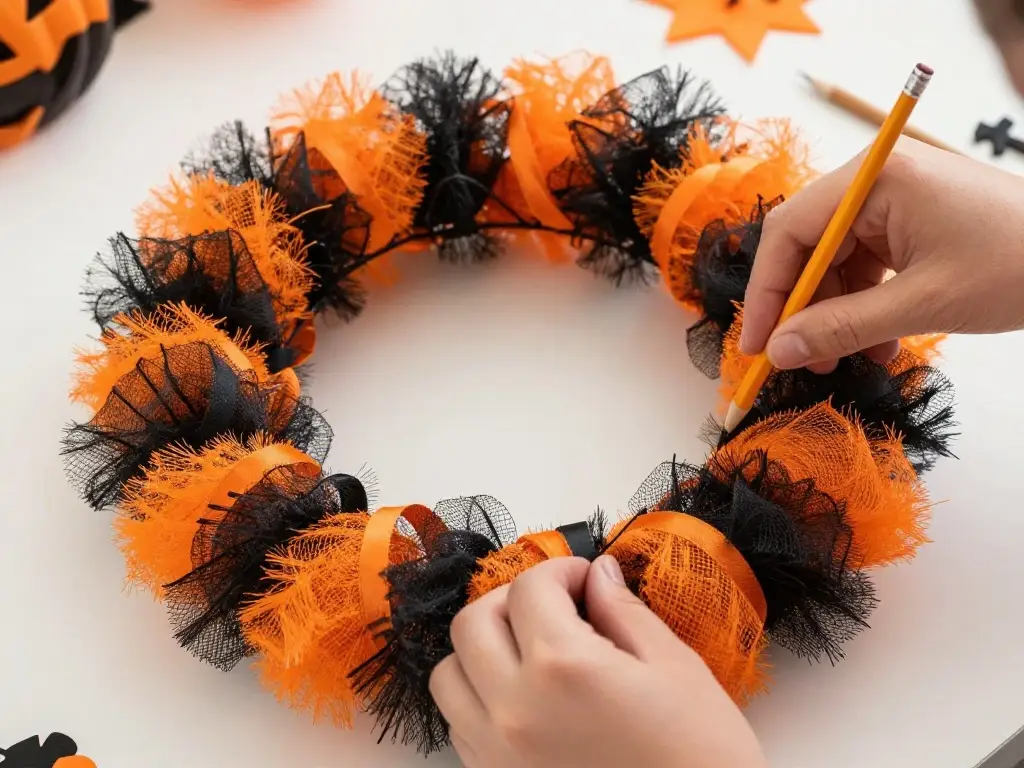
The halloween mesh wreath is arguably the most popular style right now. It’s big, fluffy, dramatic, and — here’s the kicker — surprisingly easy to make. A halloween wreath deco mesh tutorial starts with a 24-inch wire frame and two rolls of deco mesh in your chosen colors (black and orange is classic, but black and purple is having a serious moment).
Cut your mesh into 10-inch pieces. Using a pencil, push the center of each piece through a wire square on the frame. Work in rows, alternating colors if you’re using two. Once the frame is covered, fluff each piece outward. Add Halloween ribbon loops between mesh pieces for extra texture. Hot-glue your focal pieces — a large spider, a haunted house, or a foam pumpkin — directly onto the front. A halloween wreath with ribbon and mesh combo adds depth and dimension that flat wreaths simply can’t match.
DIY Halloween Burlap Wreath Ideas for Your Front Door
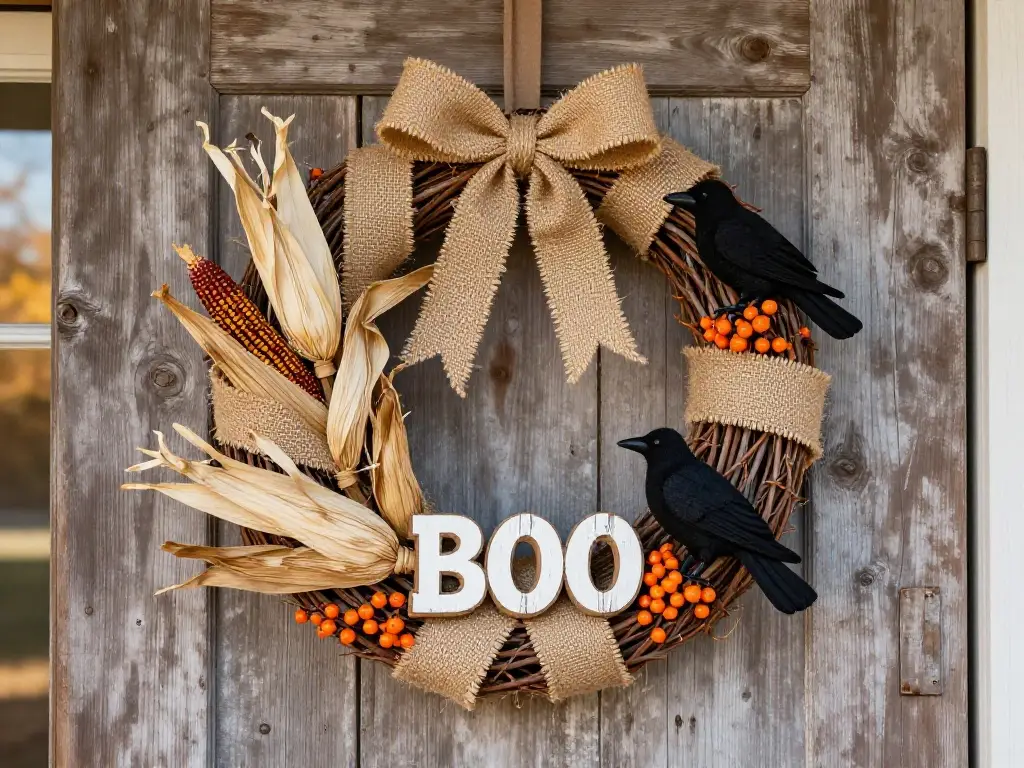
Burlap gives your wreath a rustic, farmhouse-meets-haunted charm. A halloween burlap wreath works beautifully with neutral or earth-toned Halloween decor. Think natural pumpkins, dried corn husks, black crows, and “Boo” signs painted on wooden rounds.
To make one, cut burlap ribbon into strips and loop them onto a wire frame the same way you would with deco mesh. The texture of burlap adds instant visual interest. Layer in orange and black wired ribbon loops between the burlap for pops of color. You can also paint burlap pieces with fabric paint — draw tiny skulls, spiderwebs, or bats for a custom touch. Pair with a chunky twine bow at the top instead of a traditional satin ribbon. It keeps the rustic vibe perfectly intact.
You may also like this:Funny Halloween Costumes for Pets That Will Make Everyone Howl With Laughter
Black and Orange Halloween Wreath: Classic Color Combo Ideas
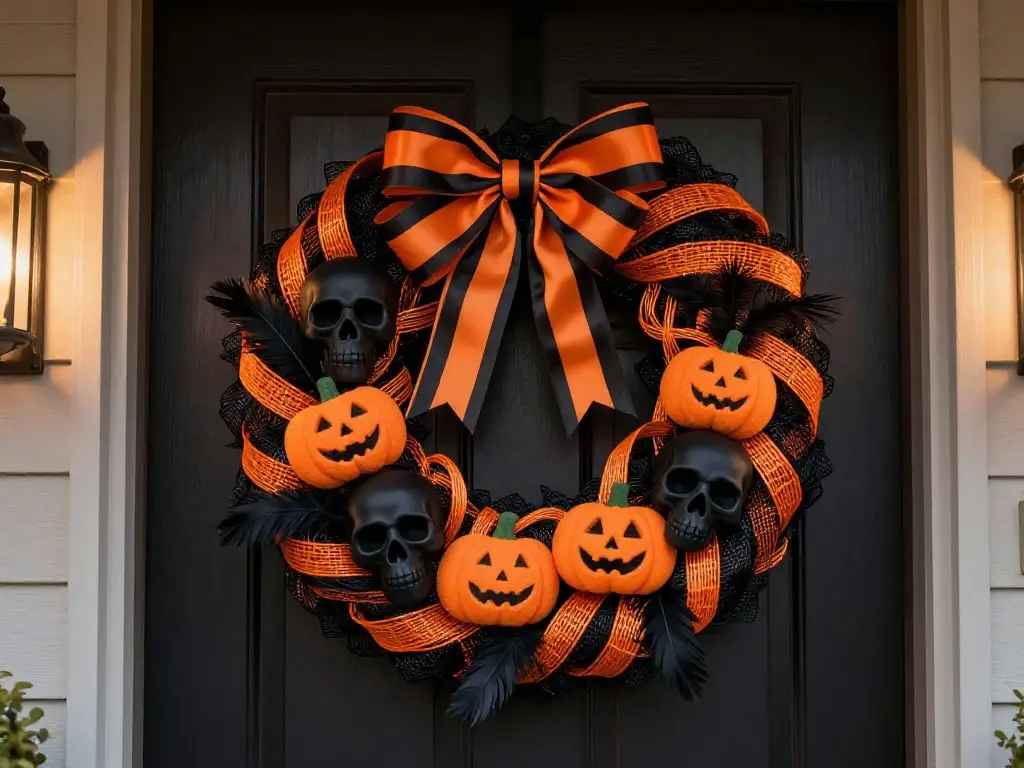
There’s a reason black and orange dominate Halloween decor. It’s primal. It’s classic. And a black and orange halloween wreath on your front door is instantly recognizable from halfway down the street. These two colors create maximum visual contrast — especially at night under a porch light.
Try using black deco mesh as your base and weave in orange wired ribbon loops throughout. Add orange and black striped ribbon for the bow. For embellishments, cluster a mix of black skulls, orange pumpkins, and black feathered picks together on one side for an asymmetrical, editorial look. A unique halloween front door wreath doesn’t always need 10 different colors. Sometimes two colors done exceptionally well beat a rainbow of mediocrity every single time.
Gothic and Scary Halloween Wreath Ideas for a Haunted Look
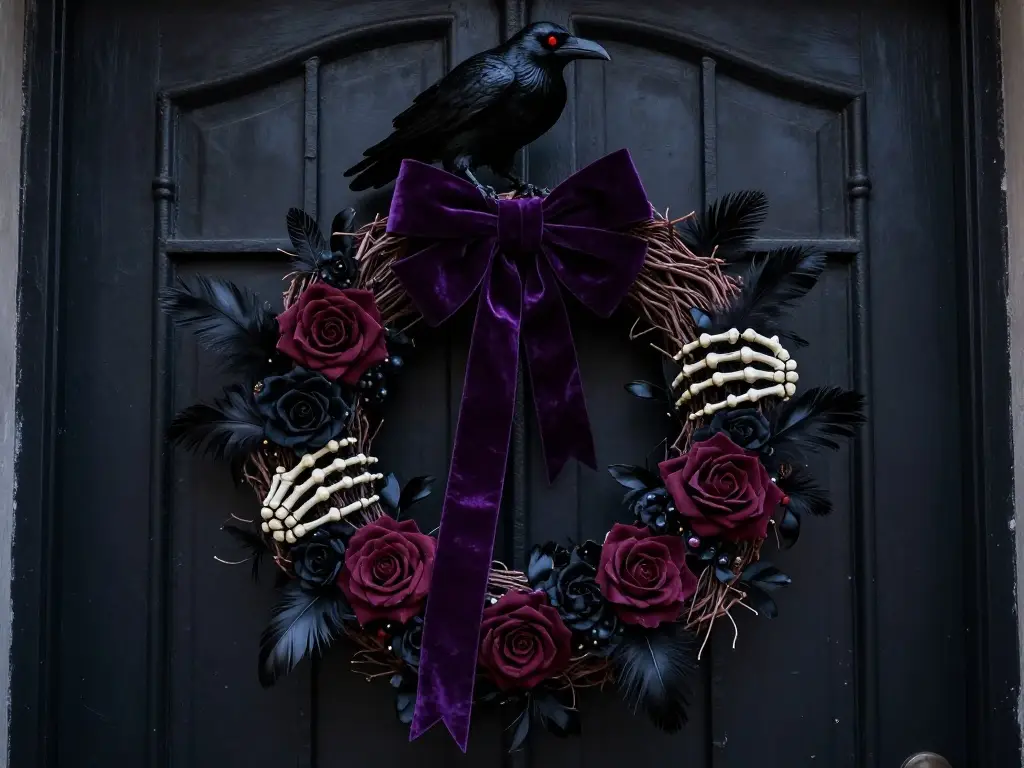
Not everyone wants cute pumpkins. Some of us want full-on haunted mansion energy. Gothic halloween wreath ideas lean into dark florals, deep jewel tones, skulls, ravens, and black roses. This is where Halloween wreath-making becomes genuinely artistic.
Start with a grapevine wreath base — it has that naturally gnarled, spooky look built right in. Hot-glue black and deep burgundy faux roses around the frame. Tuck in black feathers, skeleton hands reaching outward, and a large plastic raven perched at the top. A scary wreath for front door like this needs no explanation. Your neighbors will understand immediately. Finish with a deep purple or blood-red velvet ribbon bow. Keep the overall palette dark: black, burgundy, deep purple, and matte gold. Avoid anything shiny or glittery — it breaks the gothic illusion.
DIY Halloween Wreaths with Lights for a Glowing Night Effect
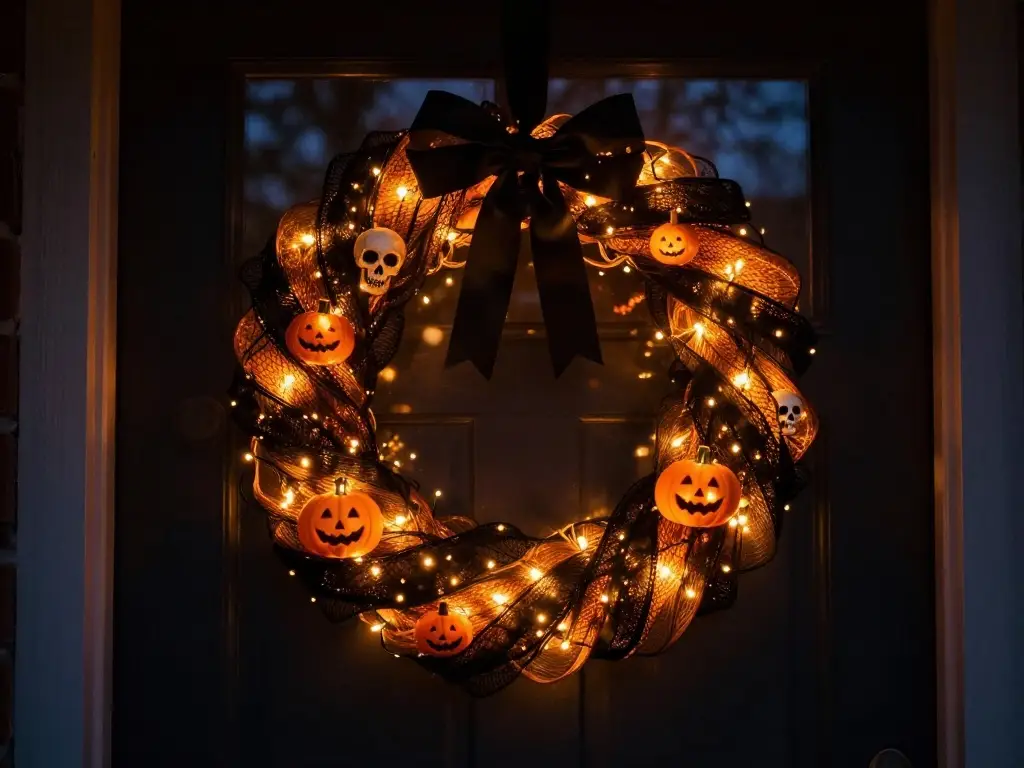
A wreath that looks amazing at night? Yes, please. A halloween wreath with lights transforms your front door into something truly magical after sundown. Battery-operated fairy lights or orange string lights are your best friend here.
Weave the lights directly into your deco mesh or ribbon wreath as you build it. Leave the battery pack tucked behind the wreath frame where it’s hidden. Use warm orange lights for a pumpkin-patch glow, or go with purple lights for a more mysterious vibe. Halloween door decorations that light up get significantly more attention from trick-or-treaters — which, let’s be honest, is part of the fun. If you really want to level up, use color-changing smart lights that you can control from your phone.
Witch-Themed DIY Halloween Wreath Tutorial (Easy & Fun)
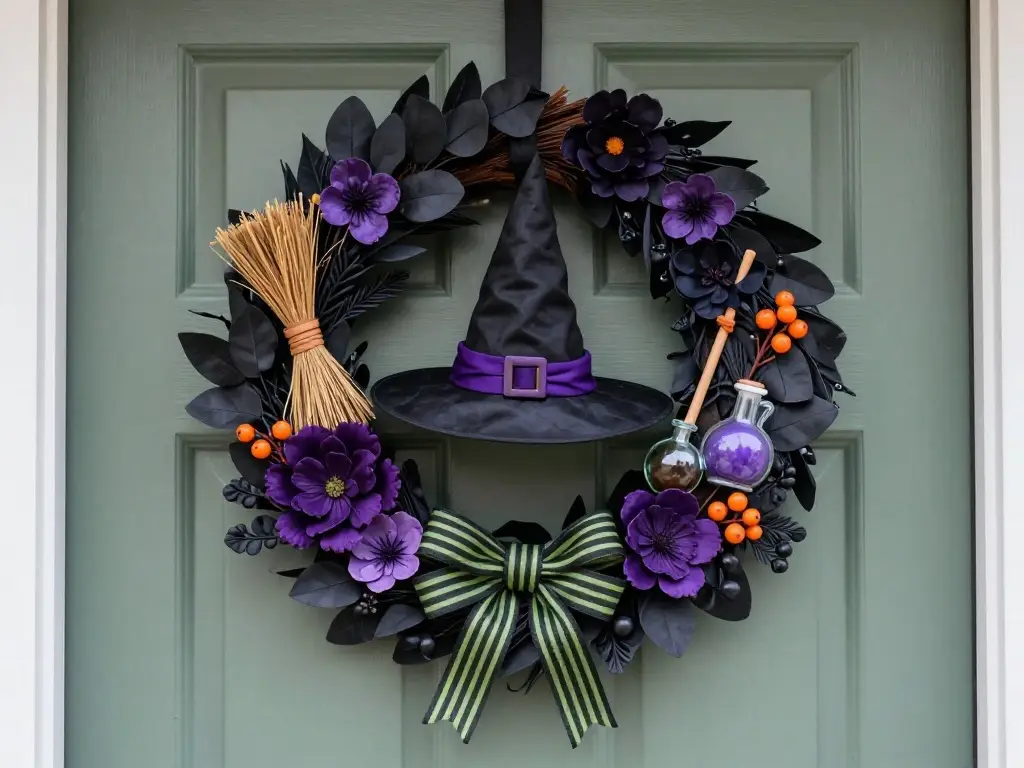
Witches are having a permanent cultural moment. A witch themed wreath is one of the most creative and personalized Halloween wreath styles you can create. It’s also endlessly customizable — you can go whimsical, dark, or somewhere perfectly in between.
For an easy witch wreath, start with a grapevine or foam base. Attach a miniature witch hat as your focal point — hot glue it slightly off-center for a dynamic look. Surround it with faux greenery like eucalyptus or black leaves, purple and orange flowers, mini broomsticks, and tiny potion bottles. Use a halloween floral wreath approach by building layers of botanicals first, then adding the thematic elements on top. Tie a striped black and green wired ribbon bow at the bottom. The result? A gorgeous, one-of-a-kind front door statement that every visitor will stop and admire.
Kid-Friendly DIY Halloween Wreath Ideas the Whole Family Will Love
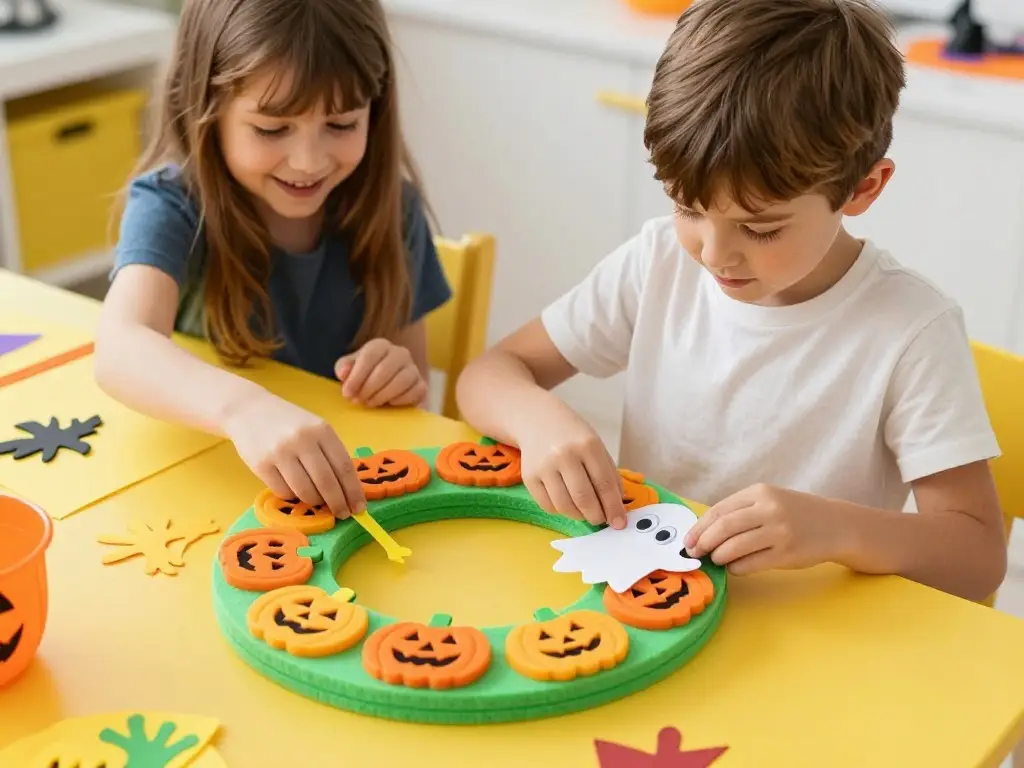
Crafting with kids is chaotic. It’s also one of the best memories you’ll ever make. Kids friendly halloween wreath ideas focus on bright colors, simple techniques, and materials that are safe for little hands. Think foam, fabric, and lots of hot-glue assistance from a grown-up.
Let the kids pick their favorite Halloween characters — ghosts, jack-o’-lanterns, friendly Frankensteins — and build the wreath around those. Foam wreaths from the craft store are perfect for kids because they can push plastic picks directly into the foam without any tools. Easy halloween wreaths for family crafting often use pre-made foam pieces that kids can color or paint themselves. Set up a craft table, lay down some newspaper, and let the little ones go wild with googly eyes, paint, and sticker embellishments. You’ll end up with something imperfect, colorful, and 100% priceless.
Fall Halloween Wreath Ideas That Blend Seasonal & Spooky Vibes
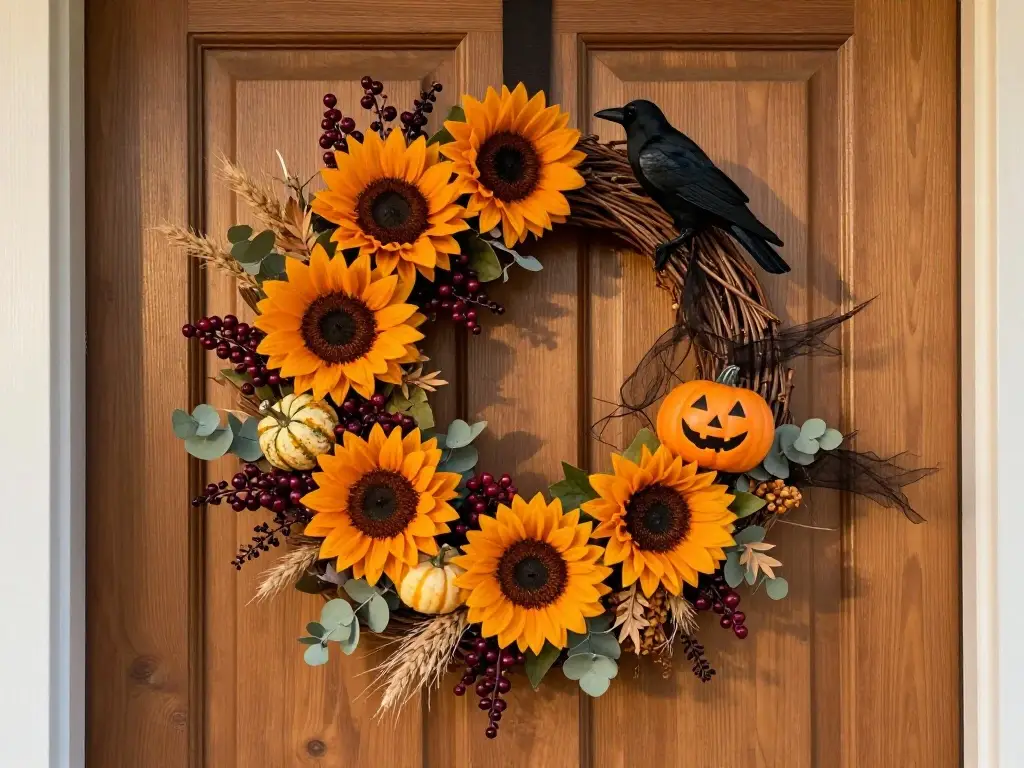
Why choose between fall and Halloween when you can have both? Fall halloween wreaths blend the warmth of autumn harvest decor with just enough spooky energy to feel festive from September straight through October 31st.
Use a base of natural grapevine or faux eucalyptus. Layer in warm-toned fall elements — rust orange sunflowers, burgundy berries, small gourds, and dried wheat stems. Then introduce Halloween elements gradually: a small crow here, a tiny pumpkin with a jack-o’-lantern face there, a wisp of black ribbon throughout. Spooky wreath ideas that incorporate both seasons last longer on your door and feel more intentional. You’re not just decorating for one holiday — you’re creating a whole autumnal atmosphere. That’s the kind of thoughtful detail that elevates a house from “nice” to “the house everyone talks about.”
DIY Outdoor Halloween Wreaths That Can Withstand the Weather
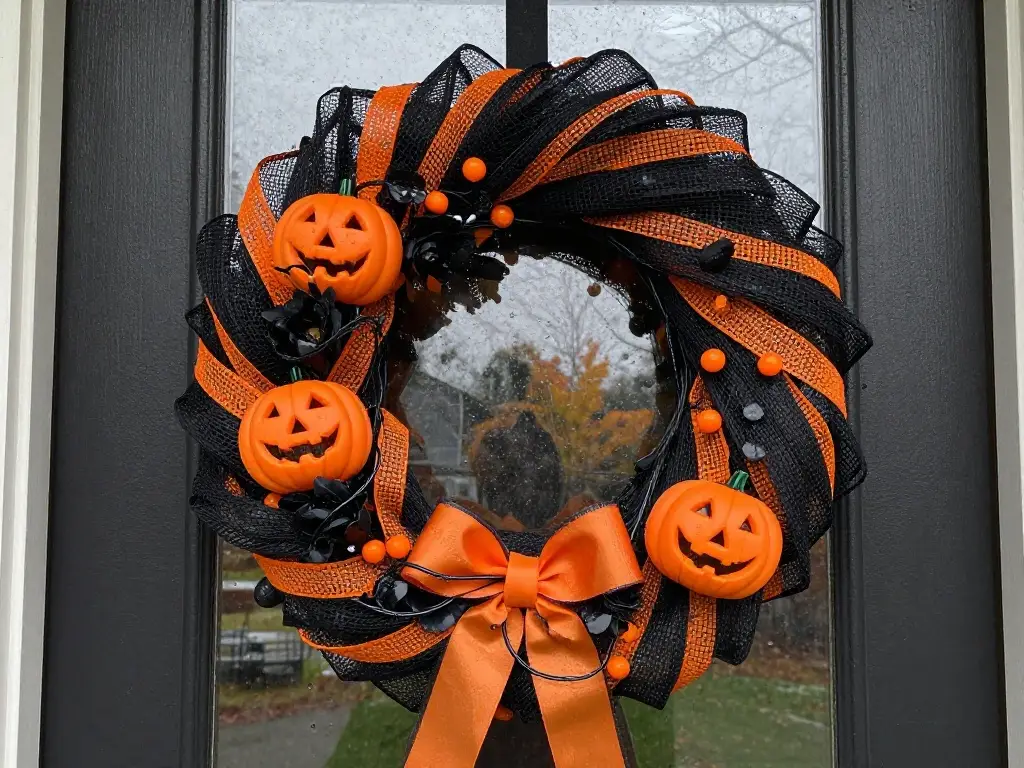
An outdoor wreath needs to survive real-world conditions. Rain, wind, and direct sunlight will absolutely destroy a wreath made from paper, cardboard, or cheap fabric within a week. Outdoor halloween wreaths require weather-resistant materials — full stop.
Stick to UV-resistant deco mesh, waterproof artificial florals, plastic embellishments, and wired ribbon that’s labeled “water-resistant.” Avoid anything made from natural materials that will rot (fresh florals, real wood slices, paper elements). Use floral wire instead of regular string to attach items — it won’t rust or break in wind. Seal any hot glue joints with a waterproof craft sealant spray. For halloween door decorations that face a covered porch with minimal direct exposure, you have more flexibility. But if your door gets full sun and rain? Go full weatherproof, no compromises.
How to Make a Halloween Wreath with Ribbon and Deco Mesh
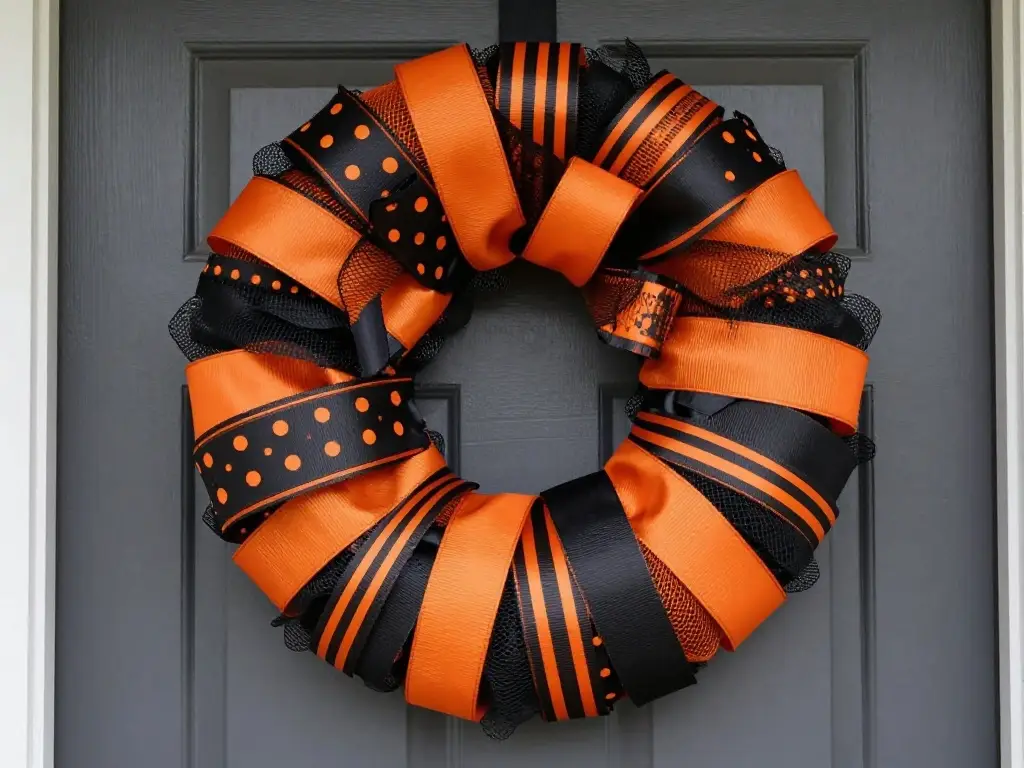
The ribbon-and-mesh combo is a craft store staple for good reason. It creates gorgeous, full, textured wreaths that look professional even for first-timers. A halloween wreath with ribbon and mesh typically uses 2–3 different ribbon styles alongside one or two colors of deco mesh.
Cut ribbon into 8–10 inch pieces and fold them into loops. Attach each loop to the wire frame using floral wire, alternating between ribbon loops and mesh puffs as you work around the frame. The trick is keeping consistent tension so nothing goes lopsided. Once the frame is full, step back and look for thin spots — fill them in. Add a layered ribbon bow using multiple ribbon types (striped, solid, printed) for your focal point. A halloween wreath tutorial that uses this technique consistently produces the fullest, most impressive results with the least amount of skill required.
Skulls, Spiders & Bats: Unique Halloween Wreath Embellishment Ideas
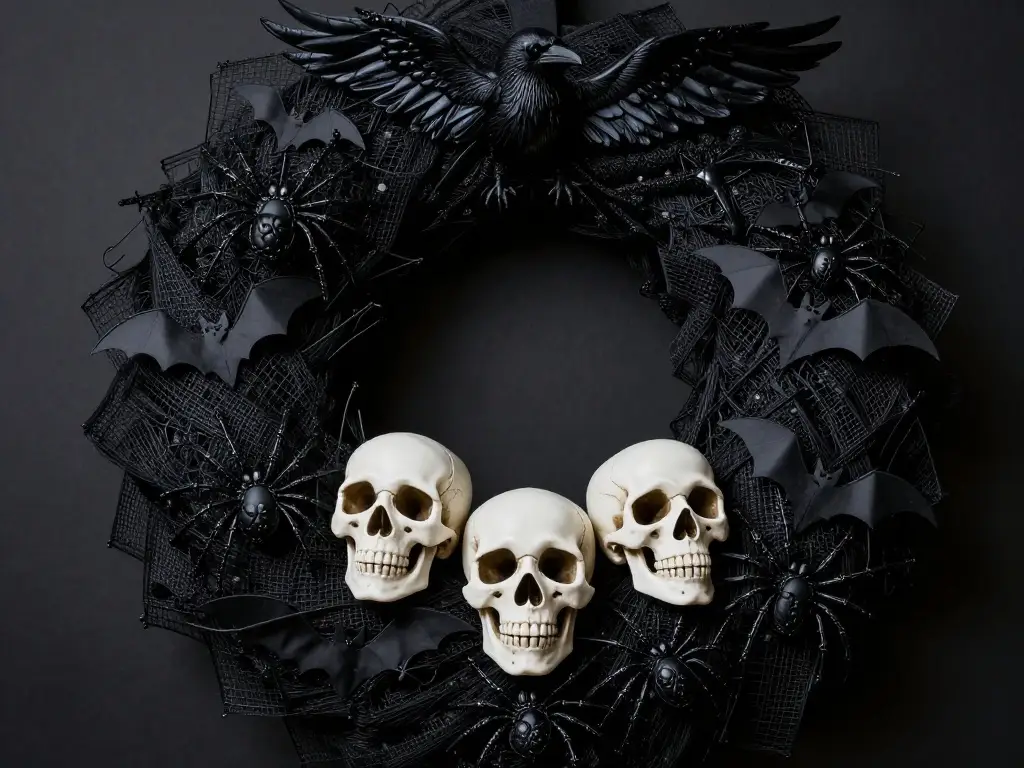
Your embellishments are what make your wreath yours. A halloween wreath with skulls and spiders immediately reads as Halloween without needing a single word of explanation. The key is arrangement — don’t scatter embellishments randomly. Create intentional clusters and focal points.
Use a “odd numbers” rule: arrange embellishments in groups of 3 or 5 for the most visually pleasing compositions. A cluster of three skulls looks more intentional than two or four. Bats can be hot-glued in a “flying outward” pattern from the center of your wreath, which creates beautiful movement. Spiders on wire picks let you position them at different heights for a 3D effect. Spooky wreath ideas that use these tactile, dimensional embellishments photograph exceptionally well — which matters if you’re posting to Pinterest or Instagram for inspiration.
| Embellishment | Best Placement | Pro Tip |
|---|---|---|
| Skulls | Center cluster or bottom | Group in threes |
| Spiders | Scattered or crawling on edge | Use wire picks for height |
| Bats | Radiating from center | Bend wings for movement |
| Ravens | Top or side perch | One large one beats many small |
| Pumpkins | Center focal or bottom | Mix sizes for depth |
| Skeleton hands | Reaching outward from sides | Creates drama |
Budget-Friendly DIY Halloween Wreath Ideas Under $10
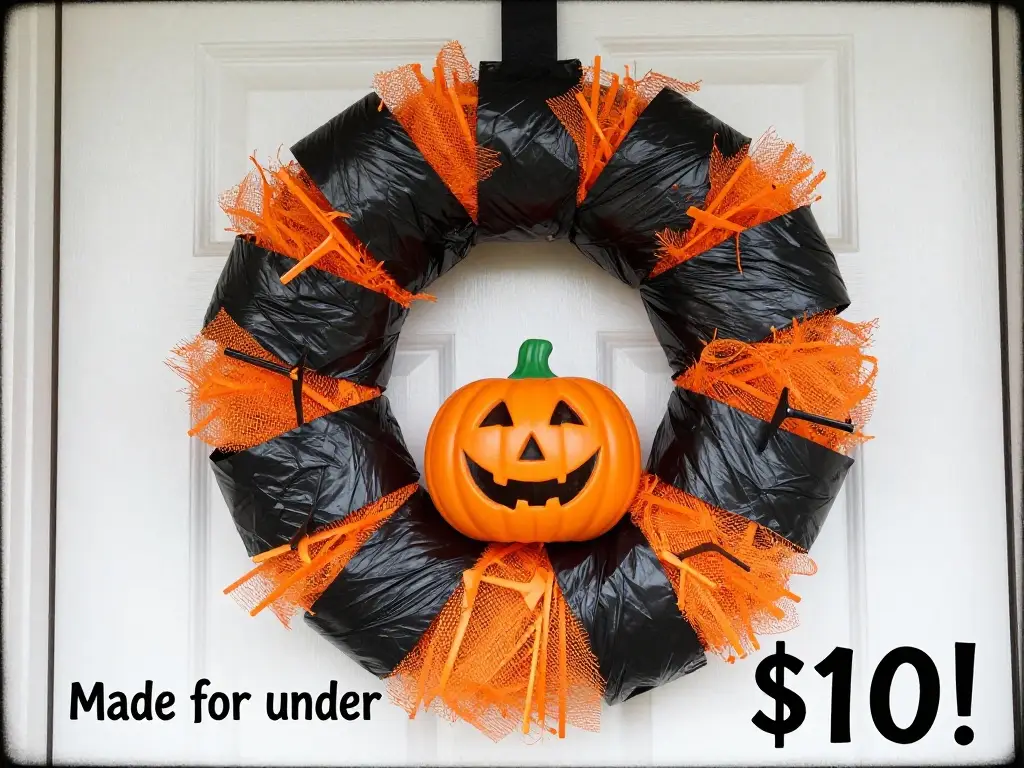
Yes, $10. You read that right. Some of the best cheap halloween wreath ideas come from smart shopping at Dollar Tree, dollar-off sales at Hobby Lobby, and using materials you already have at home. An old wire hanger bent into a circle can substitute for a wreath frame. Strips cut from a black garbage bag create surprisingly effective “gothic ribbon” when layered on a frame.
Halloween wreath using dollar store items exclusively can yield beautiful results. Grab two packs of black mesh ribbon ($1.25 each), a bag of plastic Halloween picks ($1.25), and a foam wreath base ($1.25). That’s under $5. Use your existing hot glue gun and you’re set. Add a few more Dollar Tree finds — a “trick or treat” banner, some orange berry picks, or a package of plastic spiders — and your total still stays under $10. Proof that creativity always beats budget.
Tips to Store and Reuse Your DIY Halloween Wreath Every Year
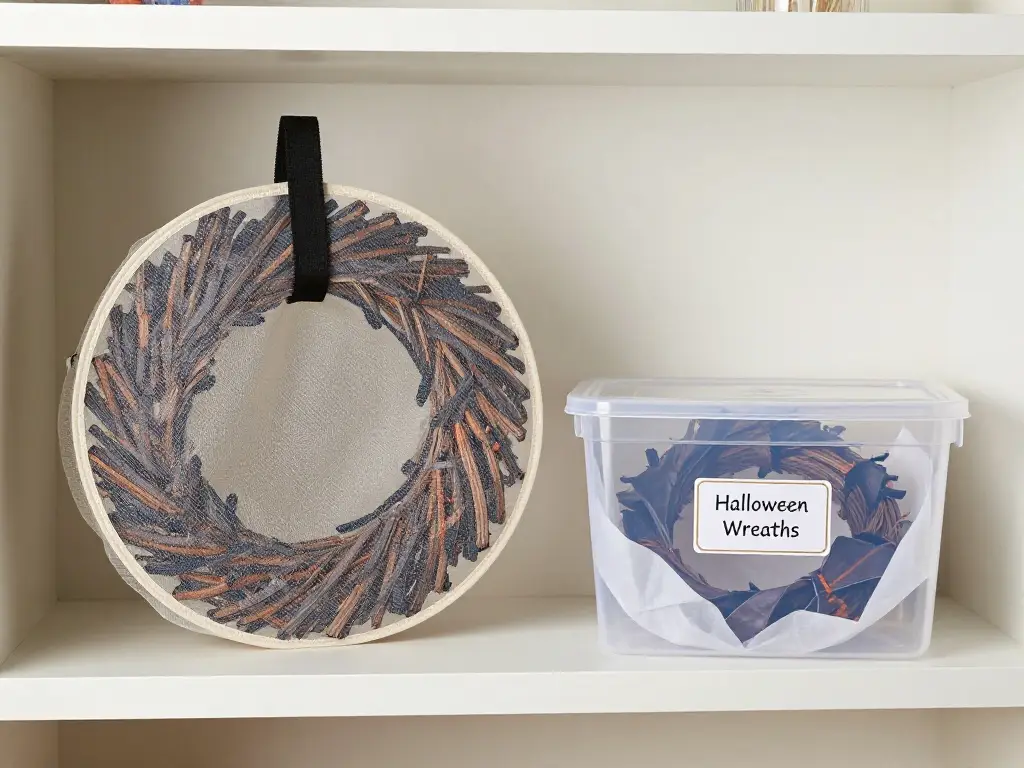
A well-made wreath should last 3–5 years with proper storage. Don’t just shove it in a box. That’s how you end up with crushed mesh, broken embellishments, and a tangled mess next October.
The best storage solution is a wreath storage bag — a round, flat bag specifically designed to protect wreath shape. They’re available on Amazon for $10–$15 and are completely worth it. If you’re storing multiple wreaths, layer them with tissue paper between embellishments and stack them horizontally in a lidded plastic bin. Keep them in a cool, dry place — never a damp garage or a hot attic. Heat destroys mesh and melts hot glue joints. Before storing, do a quick check: re-glue any loose embellishments, fluff the mesh back into shape, and replace any broken picks. A little maintenance now means your homemade halloween wreaths will look just as good next October as they did this year.